


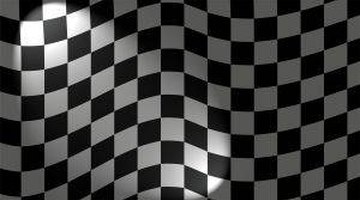
Checkered flags are typically used in automobile races to signify the end of the race. They are flown as the race winner crosses the finish. They are also used in many other types of races, like motocross racing and skiing. There is no specific color, size, pattern or number of squares used on the flag, but typically the flags are black and white with a black square in upper left corner. This flag makes a great accessory to a Halloween costume or a great prop for a party or field day.
Things You'll Need:
Things You Will Need
Determine the size of your flag's squares. A good size is 2 inches by 2 inches, but you can make your squares any size you like.
Lay your pillowcase out on a flat surface with the open end on the left hand side. This is the side that will attach to your dowel rod. Take several sheets of newspaper and place them inside of your pillow case. This will protect the back side while you work on the front side.
Using a yardstick or tape measure, mark a line every 2 inches (or whatever size your squares are) across the top and down the left side of your flag. Use these marks to draw straight lines both down and across. You will now have created the checkerboard pattern on your flag.
Paint the upper left most square on your flag black, as this is standard on most race flags. Continue to paint every other square on the top row black. As you begin painting your second row, the first square should be left white, and you should begin you pattern with the second square. This maintains the checkerboard pattern. Repeat this process until you have painted your entire flag.
Allow the front of your flag to dry completely before beginning work on the back. This may even include placing the flag in the dryer, if your particular brand of fabric paint requires high heat to set. Do not put a wet flag in the dryer, as paint will smear all over your flag and all over the inside of your dryer.
Paint the other side of your flag, using the above instructions. Also allow it to dry completely before moving on to the final step.
Attach the stick. Lay your completed flag on a flat surface, with the open end on the left side. If you haven't done so already, remove the newspaper. Make sure the solid black square you started with it at the top. If not, flip it over. Working in small sections, hot glue both open ends of the pillow case to the dowel rod. If you glue too large of a section, it will dry before you are able to attach the rod, so make sure you glue as you go. When you are done, allow the glue to set for a few minutes and enjoy your flag!
Warnings:
- Be sure to remove newspaper from flag before placing it in the dryer.