
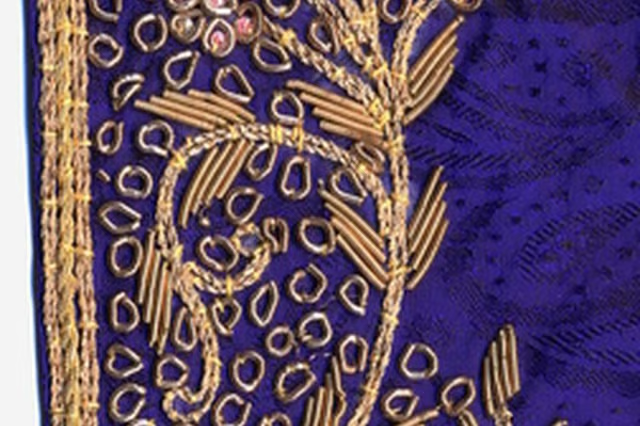


A grand hoop allows you to embroider designs for large projects. The hoop is easy to set up and use, and is a benefit to those that enjoy T-shirt embroidery, as well as quilting projects. The Pfaff grand hoop is an optional accessory for Pfaff embroidery machines in the 7500, 2100 and newer series.
Things You'll Need:
Things You Will Need
Software Setup
Install the software kit that came with your grand hoop. Typically, this will be 3D, 4D or 5D file assistant software. No security dongle is included in the kit, and is not needed for the grand hoop.

Restart your computer, and load the embroidery assistant software. Register your software by following your kit’s online registration directions. There should be a serial code that came with your software. You will need this code to register your software.

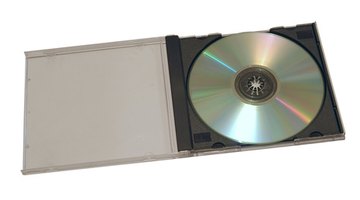
Load the embroidery design CD that came with your grand hoop kit. This design CD comes with two embroidery designs that are used with the grand hoop. Select one of the designs. The designs will come in two parts. Each design has two split files; each contains one half of the design.
Select the embroidery design you wish to use from the design file folder, and open one file, which is one half of the embroidery design. The file folder can be located in your documents under the Start menu on your computer's operating system. You can also find the folder through the embroidery assistant software program.

Print out the design half, open the second half of the design, and print it out. Set aside both printed halves. Connect your embroidery machine's transfer device. This can be a USB thumb drive, a serial cord or a blank embroidery card with cable.
Send both embroidery files to your embroidery machine as a single file. Both designs will load to your embroidery machine.
Setting Up the Grand Hoop
Set up the item you want to embroider. Get both copies of the printed design, hoop template and your grand hoop. Line up the two printed designs, mark the first side of the design, and then repeat for the second side.
Take the template and put it over the item to be embroidered. Mark where you want the design to be on the fabric with fabric chalk or pen through the template. Place embroidery stabilizer on the hoop, and then hoop the fabric to be embroidered.
Attach the hoop to the embroidery machine. Choose design side one, and start the machine. Stitch out design side one. Pull the hoop out, and turn it around so that the old design is now on the opposite side. Re-hoop, and choose design two on the embroidery machine. Stitch out the second design. You are now finished.
Warnings:
- HASP errors are common when using a security dongle. You can download the latest HASP upgrade from the Pfaff website. A bird's nest under the fabric is due to the top thread tensions, and a bird's nest on the top of the fabric is due to the bobbin tension.