


Things You'll Need:
Things You Will Need
Warnings:
- Avoid the temptation to yank photos quickly apart, as this may tear them. If the photos are extremely valuable to you, take them to a professional photo restorer instead of trying to separate them yourself. A professional has experience with this type of problem and may be able to save the images for you.
Stuck-together photos pose a confusing conundrum -- pulling them apart may tear the images, resulting in worthless, permanently damaged pictures, but leaving them as-is isn't an acceptable solution either. Moisture and humidity are the usual reasons photos stick together, because damp conditions soften the gelatin-like coating on images, turning it into a sticky mess. Separating your photos may require several different methods -- always start with the most gentle options before using methods that may damage the pictures even more.
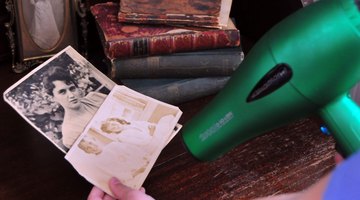
Blow warm air on stuck photos if they recently adhered to one another or have been stored in damp conditions. Plug in the hair dryer and turn it to a low-heat setting. Blow air 6 to 10 inches away from the photographs, aiming along the photograph edges. Pull gently at corners that are not stuck down to get some of the air between layers. Continue with the warm-air treatment for several minutes along each edge, rotating the photos to dry out other areas. The warm blasts of air remove excess moisture from the photos and may make the image coating harden again, freeing one layer of images from the next.
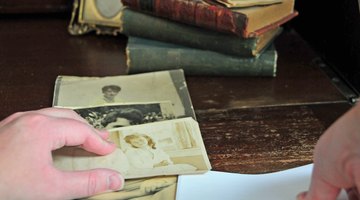
Slip a piece of cardstock such as an index card or a panel from a greeting card along an opening between dry photographs, sliding it back and forth like a knife. Wiggling the card while gently pulling at a loose corner may free the stuck photos. Use a thin silicone spatula if the photos are difficult to separate. Do not push things between photographs that are wet; air dry or blow dry them first.
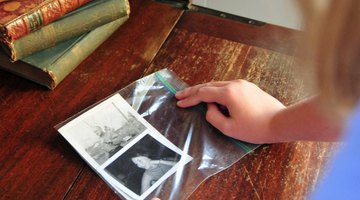
Place the stuck photos in a plastic zippered bag and press all the air out of the bag as you seal it shut. Set the bag in the freezer for 30 minutes or so. Remove the bag and work a piece of cardstock or a thin silicone spatula between the photographs to pry them apart.