
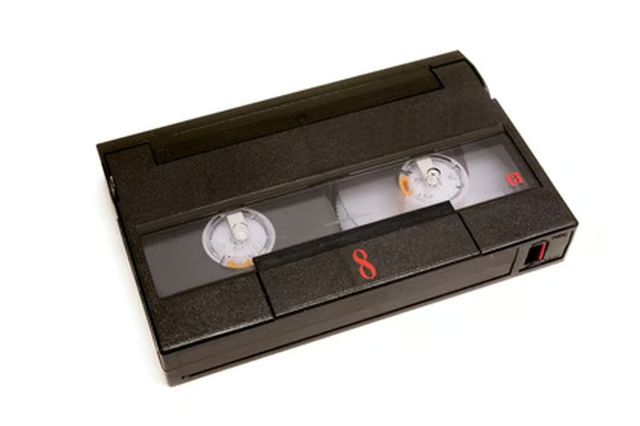
The 8mm video tape is now considered an aging format, but at one time it was very popular. Many consumers who bought 8mm video cameras may now have graduated to DVD or hard drive video recorders, but they may still have a plethora of 8mm video cassettes. Because these cassettes contained actual moving magnetic tape, some of your 8mm tapes may have split or broken as a result of time, wear or extreme temperatures.
Things You'll Need:
Things You Will Need
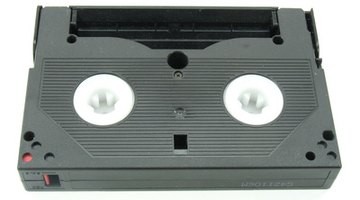
Lay the cassette tape down, with the window side facing down.
Release the plastic tape guard by pushing in on the small lever on the left side of the tape housing. The lever is spring activated, so you will have to hold the guard open while you continue with Step 3.
Insert a toothpick 1/2 inch into the center slot just above the two spindles on the back of the tape case. This will enable you to unwind approximately 3 to 6 inches on both sides of the split tape so that you have a sufficient amount of slack to make the repair.
Keep the tape oriented the same way you unwound it from the spindles so that you do not splice the tape together the wrong way. A simple rule to remember is shiny side of the tape up, dull finish down.
Place both ends of the 8mm tape on a cutting board and line them up for splicing. If they do not match, use your scissors or razor blade to cut the ends off each side so that they will match up. Make sure that the tape is not twisted and to match shiny side with shiny side.
Cut a small piece of cellophane tape equal to the width of the 8mm tape. The length of the cellophane tape should be 1 inch.
Join the tape ends. Gently place the tape over the ends and press down, making sure you have joined both ends securely.
Rewind the tape onto the spindles. There will be a small loss of picture and sound fidelity at this mark during playback. This should only last for one to two seconds.