
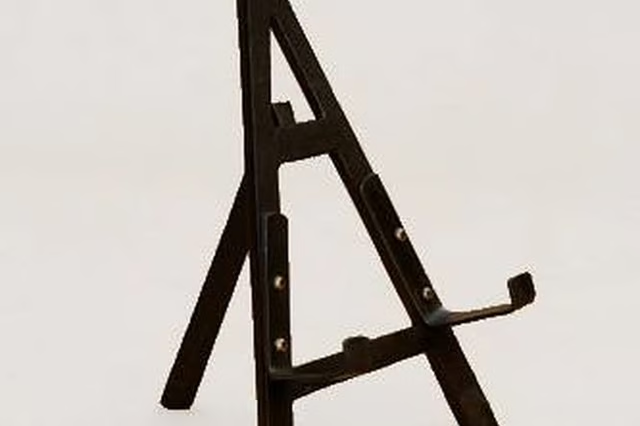


There are all types and sizes of easels that can be used for pictures. They all have a fundamental design to them often referred to as tripod legs, which is a sturdy structure to support the display. Your own design can be incorporated to your easel for the purpose that best suits you.
Things You'll Need:
Things You Will Need
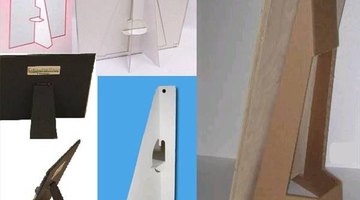
Draw out the design you would like for the easel back. All easels make a pyramid shape, with the picture as the front triangle and the back making the third extended point. The back can either be attached at just the top or all the way down the back.
Cut the shape out of cardstock or cardboard. If it is going to be attached the whole way down, it will be a triangle shape with an attached rectangle that will be attached to the picture. If it is going to just be attached to the top, then there is a choice of either a solid rectangle with an attached chain or rope or you can do the same shape as a picture frames back.
Attach the chain, rope or ribbon piece if using the rectangle shape. Attach it using hot glue to the end of the rectangle as well as on the bottom of the picture.
Glue the top of the rectangle piece to the top of the picture. After it has set, pull the piece out to test the chain to make sure it holds the picture up. Make adjustments if needed.
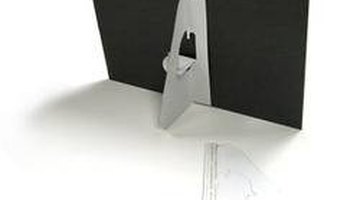
Cut a quarter of a circle starting one-third of the way down for the piece that connects all the way down the back. Cut the semicircle part as well as the straight down piece vertically. Leave the horizontal piece connected and fold it over. The vertical piece is now horizontal and will provide additional support to keep the picture upright.
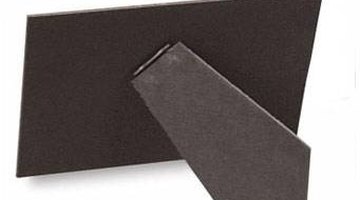
Attach the picture frame type of support by gluing the top piece against the back and allowing to dry. Make sure the piece cut for the horizontal section is completely straight and level, otherwise the picture will wobble or fall over.