
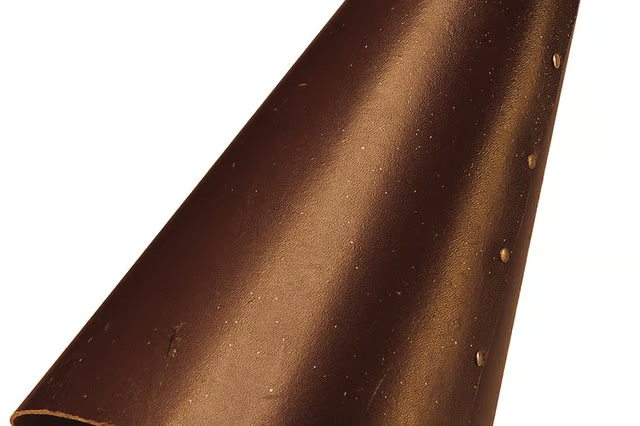


Building a cone out of sheet metal is a simple procedure. But building a cone to exact sizes and specifications requires using mathematics. Once the size of the cone has been determined, you can quickly and easily cut out the sheet metal before fastening it together using a rivet gun to permanently set it into a conical form. Such cones can be used for a variety of purposes and will hold up against time much better than other materials.
Things You'll Need:
Things You Will Need
Determine the dimensions of the cone you wish to build. These dimensions should include the circumference at the large end and the total cone length along the slanted side of the cone.
Draw a line onto your sheet metal of the length of the slanted side you wish your cone to be. Mark one end of this line as the pivot point.
Attach a length of string the same same length as your line in step 2 with one end held on the pivot point, and the other end looped around the tip of your marker. Draw an arc starting at the end of the line from step 2 opposite the pivot point. This arc should be as long as you would like the circumference of the cone to be, measured later with a ruler. Reconnect the end of the arc to the pivot point by drawing a straight line.
Add a rectangular strip to the line joining the end of the arc to the pivot point offset by a half inch outside the cone template to allow you enough material to overlap and fasten the cone into place with rivets. This rectangular shape should be parallel to the line joining the end of the arc to the pivot point.
Cut out the cone template from your sheet metal using tin snips, and file the edges smooth of any burrs of rough sections with your file.
Roll the cone template into a cone shape starting at the wide end, working toward the pivot point end.
Drill a few holes through the overlapping rectangular shape. Fasten the cone into shape permanently with rivets inserted and fastened in the drilled-out holes.