
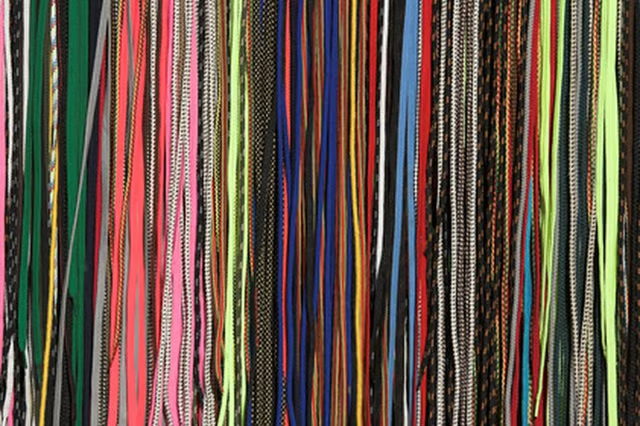


Creating your own hair bows allows you to customize hair bows for yourself, your daughter, your granddaughter or a niece in any style or color you desire. Using shoelaces instead of ribbon makes for an unusual hair bow, and using neon-colored shoelaces results in a 1980s look. Whether you are making a hair bow for a retro outfit or just want a bow to match your shoelaces, using shoelaces will make your hair bow stand out.
Things You'll Need:
Things You Will Need
Open the French pinch barrette. Remove the metal inside piece and put it aside.
Thread your needle with four strands of thread, each 48 inches long. Knot the end of the thread.
Stack the shoelaces on top of each other, if you are using two or three shoelaces, or hold up the single shoelace if you are using one. Place the needle directly under the aglet (the plastic piece at the end of the shoelace(s)) and pull it through until the knot hits the back of the shoelace(s).
Put the barrette on top of the shoelace(s), with the open hole near the clasp of the barrette near the thread knot at the end of the shoelace(s).
Stitch over the shoelace(s) and through the hole in the barrette. Repeat on the opposite side, securing the shoelace(s) in place.
Hold the shoelace(s) flush against the barrette and wrap the thread around the barrette and shoelace(s) three or four times on the inside of the barrette spring.
Rotate the barrette so that the clasp is on the bottom. Pull the shoelace(s) up toward you to make a loop. The larger loop you make, the taller the bow will be.
Wrap the thread around the barrette and shoelace(s) on the opposite side of the loop from the existing wrap. If you are using more than one shoelace, fan out the loops before tightening the thread.
Create another loop with the shoelace(s) as in Step 7 and 8. You can alternate the direction the loops face in relation to the barrette (above or below) or have them all facing the same direction.
Continue making loops until you reach the end of the barrette. Stitch the shoelace(s) into the hole at the opposite end of the barrette as you did at the beginning and knot and cut the thread. Any remaining shoelace will trail from the barrette for a streamer effect.
Replace the metal piece inside the barrette.