
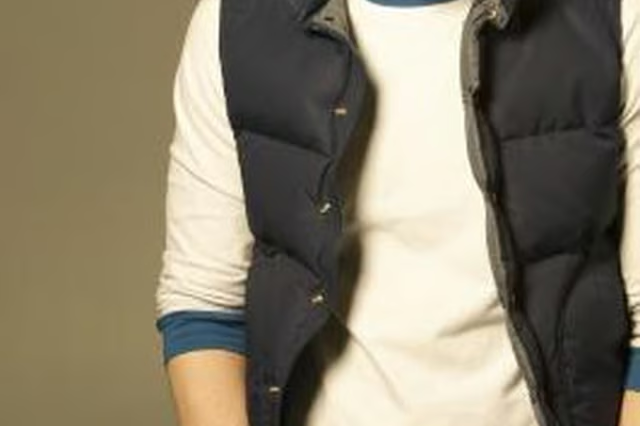


By making a reversible vest, you can choose two different fabrics for the same vest, and wear either one depending on your outfit or the style you want that day. Choose fabrics that are the same type of material (for example, both cottons), since it can be difficult to combine very different fabrics (such as satin and denim). Make sure that one fabric isn’t significantly darker than the other, or the dark fabric could show through the light fabric. If you’re having trouble with the fabrics you’ve chosen showing through, you may want to add fusible interfacing to one or both fabrics.
Sew a Reversible Vest
Buy a pattern for the vest, or make your own. Choose a simple vest pattern with a lining.
Cut one back and two fronts for the vest from one of the fabrics.
Place the vest back and vest fronts right sides together. (If the vest pattern uses several pieces for the front, sew those pieces together first.) Pin the back and front together along the shoulders and sides.
Stitch the vest back and fronts together along the shoulders and sides, using 5/8 inch seam allowance or the seam allowance recommended in the pattern instructions. Press the seams flat.
Repeat Steps 2 through 4 for the other fabric.
Place the two halves of the vest right sides together, lining them up along the edges. Pin the two halves of the vest together.
Stitch the vests along the front and neckline, and around the armholes.
Stitch along the lower edge of the vest fronts only. Leave the lower edge of the vest backs unstitched.
Turn the vest right side out. Use the eraser end of a pencil or another long, dull object to gently push out the edges of the vest and make sure it’s fully right side out.
Turn the unsewn edges of the lower back to the inside of the vest, so that the folded edge is even with the rest of the back. Press the folded edges, and pin them together.
Topstitch along the outside edges of the vest and the armholes, 1/4 inch from the edge. Make sure the lower edge of the back of the vest gets sewn closed in this seam.
Add buttons and buttonholes, small pockets, or decorations to one or both sides of the vest, if desired.
Things You'll Need:
Things You Will Need
Warnings:
- Use caution when working with scissors, pins, irons and sewing machines.