
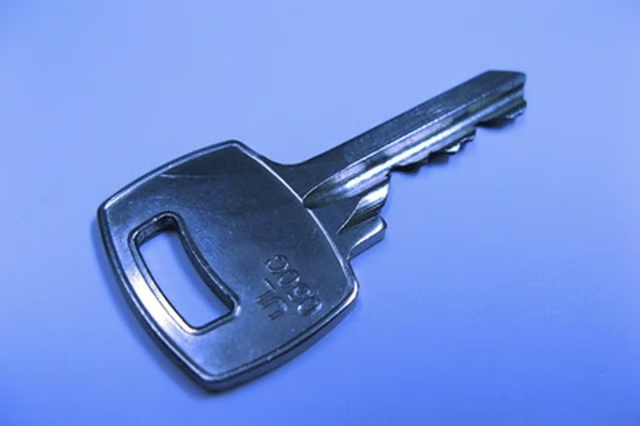
Impressing locks to make your own keys is not only a useful skill, it's the basis for a lifelong profession. Unlike lock picking, which is relatively easy to learn and offers only a one-time quick fix, impressing a lock is a difficult and nuanced craft that offers a permanent solution for locks in need of keys. The materials are simple and cheap and the task is doable, but for those who are interested in honing their skills to the point where they can regularly replace lost keys, a great deal of patience and practice is needed.

Things You'll Need:
Things You Will Need
Purchase a key blank that fits the same length and width specifications as the lock's previous key. A key blank is a key without a pattern engraved into it. The portion that would normally have teeth is smooth and squared off.
Sharpen the bottom edge of the key blank with a file. This is the edge where the pattern will be carved. Make sure that you hold each side of the key blank's bottom edge at a 45-degree angle and sharpen it until it is as sharp as a knife on both sides.
Slide the key blank gently into the lock hole. When you remove the key from the lock hole, you should see an impression left by the teeth of the lock hole in the exact placement of where you would like the teeth of your new key to be. Do not lubricate either the blank or the lock hole when trying to push the blank into the lock; doing so will ruin the impression.
Use a marker to trace the pattern left by the lock's impression on the key blank. Locate a key grinder and grind the key according to the pattern you have traced. Although every grinder varies in its means of operation, it is vital that users of all grinders wear goggles to protect them from the sparks that are generated. When you are finished grinding, apply a 60-grit piece of damp sandpaper to the key and wipe off any excess metallic flakes.