


Making stained glass letters is easier than creating more intricate pattern scenes. Rounded letters are the most difficult to create, but can be accomplished by using a mechanical compass, or a printed letter pattern. Stained glass letter patterns can be downloaded and printed from stained glass websites, or created using inexpensive cardboard stencils.
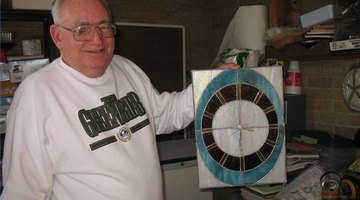
Things You'll Need:
Things You Will Need
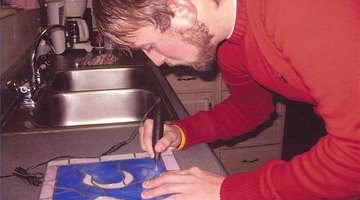
Determine the height and width of the letters.

Measure and draw letters onto the cardstock. Letters touching each other are easier to cut and foil.
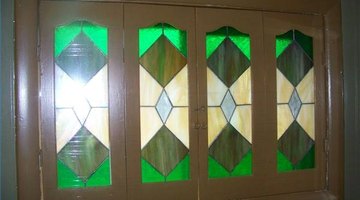
Place cardstock under the stained class. If using dark glass, stencil directly onto the stained glass panels.
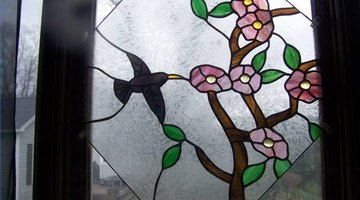
Roll stained glass cutting wheel along the outline of the letter stencils.

Sand away any rough edges on the glass letters.
Lay completed letters in the proper order. Apply foil copper onto the front of the letters; press the adhesive foil onto the backside of the letter pieces.
Apply flux compound to all exposed copper foil areas with a paintbrush. Air dry for an hour.
Apply solder uniformly by squeezing the trigger gently in a steady motion to the stained glass letters. Air dry for at least two hours.
Clean smudges and remove grease from letters with Windex, or similar glass cleaning agent.
Warnings:
- Always wear protective eye-wear when cutting stained glass, and working with hot solder.