
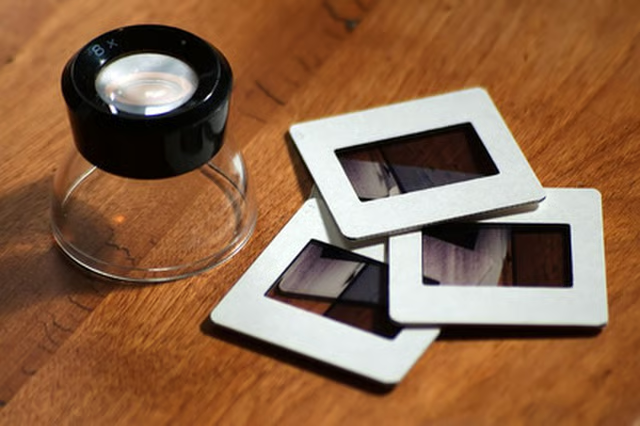
Building an inexpensive light box is great way to view slide negatives. A light box is designed to give photographers a stable platform to view their slides on. Store-bought light boxes can be expensive. Anyone who has basic building skills can easily design and build one at home using materials you may already have or that are readily available at most hardware and craft stores.
Things You'll Need:
Things You Will Need
Select a box that is roughly five to six inches deep. A display or shadow box is a good choice. These boxes are similar to picture frames but are usually four to six inches deep. They are made of thin wood or composite material that is sturdy enough to accept screws or small nuts and bolts. Select a shadow or display box that is either 11 x 14 or 16 x 20 inches in size. This will allow adequate space to layout a number of slides on the surface.
Remove the glass from the display or shadow box. Replace it with a piece of translucent plastic or Plexiglas. Using the plastic or Plexiglas eliminates the possibility of the glass breaking. Using a material that is not clear, but allows light to penetrate, will diffuse the light source.
Use a 1/4" drill bit to start the hole that will allow the plug from the light source to go through. Increase the size of the opening by using a larger, 3/8" drill bit. If the opening still too small, use either a jig saw or a utility knife to enlarge it.
Install a small fluorescent tube light fixture in the middle on the inside back wall of the box. The ideal fluorescent fixture is a small, 32 watt or 40 watt fixture. Make sure the fixture has an "on" and "off" switch on the plug cable. You do not want the switch to be on the fixture itself. Once the top is installed, the switch won' t be accessible to turn on or off. Secure the light fixture in place by using screws or small nuts and bolts.Typically, a light fixture will come with the proper installation hardware.
Attach the plastic or Plexiglas to the front the of the display or shadow box using small screws or two small band clamps to hold in place. A band clamp is similar to a belt clamp, made of nylon or similar material, and has a tightening mechanism. If not using screws, position one band clamp around the top of the box so it will secure the Plexiglas. Use the second clamp at the bottom of the box. Once secure, your light box is ready to use.