
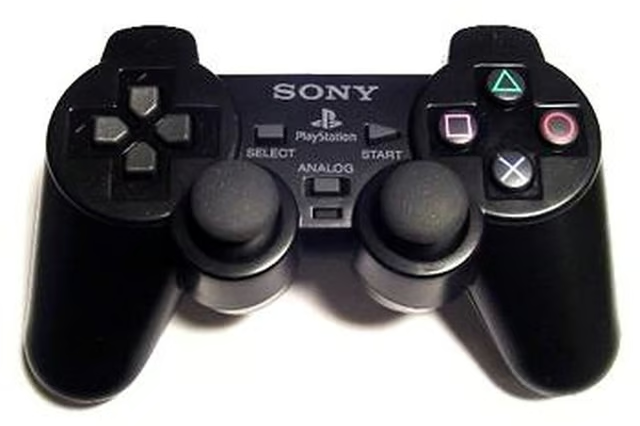


After prolonged use, or a heavy spill, the buttons on your PlayStation 2 controller may become sticky and unresponsive. Before you pay out another $30 for a new PS2 controller, there are a few tricks you can try to fix the controller at home. Although it will require a screwdriver and some delicate maneuvering, it may be worth it if you just can't bear to part with your controller.
Things You'll Need:
Things You Will Need
Clean any surface stains off the face of the controller. Although these stains might not be the direct cause of the sticky buttons, it may be compounding the issue, or can lead to further sticky button issues.
Take the controller apart. After you have thoroughly cleaned the surface of your controller, it is time to go inside. Grab a Phillips head screwdriver and loosen the screws on the bottom side of your PS2 controller. The PCB board will then be exposed. Locate the screws that hold this board in place and then loosen them. Remove the PCB board and the buttons will be exposed.
Clean each button as well as its connective material with warm soapy water. Simply dilute 1 tsp. of dish soap in a gallon of hot water to make a simple cleaning solution that is safe for your PS2 controller. Do not submerge the buttons, but instead use a damp rag to clean surface stains. Use tweezers or a toothpick to remove caked-on gunk.
Dry off each button as well as other components individually. After all the dirt and gunk have been removed from your PS2 button components, take a towel and dry each component individually. Take great care not to damage the integrity of the button components.
Reassemble the controller once all the button components have been dried completely. Simply place all the button components in the controller's shell, replace the PCB board, as well as connective wires and then screw the bottom part of the shell back in place. For more detailed assembly/disassembly instructions (with pictures) see the "Take It Apart" guide to a PlayStation 2 controller link in the Resources section.