
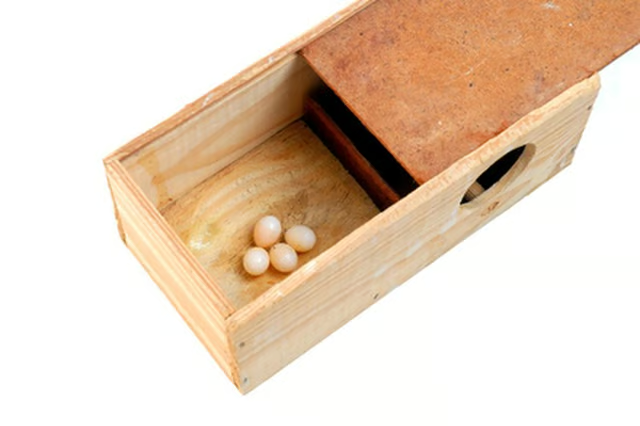


You can build a wooden box easily using simple hand tools, and avoid using electrical equipment such as a drill or band saw. Constructing a box in this way does not limit you to the size or style of box, but time will be a factor as it takes longer to prepare the materials by hand. If you are a beginner to woodworking, building a small box is a good way to learn how to use hand tools.
Things You'll Need:
Things You Will Need
Lie the sheet of plywood flat on a workbench. Use the measuring tape to measure the lengths of the box's sides, ready for cutting. Create four equal rectangular shapes measuring 12 inches by 6 inches, then two end squares measuring 6 inches by 6 inches.
Draw the outlines of the shapes mentioned in step 1 onto the wood with a pencil.
Cut out the pieces of wood using a hand saw. Follow the pencil lines closely so each piece is the exact size, otherwise your box will not fit together.
Use sandpaper to sand down the edges of the wood to give a smooth finish.
Start building your box. Place two of the rectangular sides of wood at right angles to one another. Then, connect them using wood glue. Place glue along the longest edge and secure the two sides together.
Continue constructing the box by gluing another 12-inch-by-6-inch piece of wood in place. Glue along its longest edge, then affix it at a right angle to the box created in step 5. You will now have a "U" shaped structure.
Add the end pieces to the box, by simply gluing the 6-inch-by-6-inch pieces of plywood to each end of the "U" shaped box. Leave the glue to dry.
Strengthen the box by hammering nails along the joints. Place at least three nails on each edge to give the box durability.
Secure the two hinges on one of the open edges of the box. Then, affix the final side to them. This creates a lid to the box that can be opened and closed easily.