
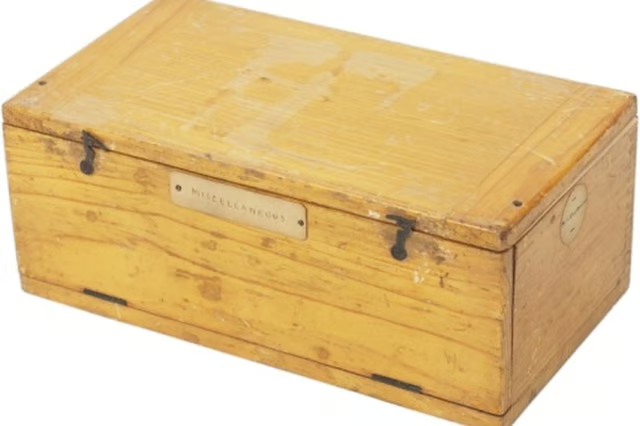


Miters are used to make wooden boxes without frames. Miters are angles cut on the edges of wood to create a seamless joint. You cut all the pieces of the box, miter all of the edges and assemble it using the miters to join the box together. Simple box construction miters are always 45 degrees making up the sides and bottom of the box. The box is then secured with glue and nylon strap clamps.
Things You'll Need:
Things You Will Need
Cut five pieces of plywood at 24 by 24 inches on a table saw. Clamp a 3/4-by-4-by-36-inch scrap board to the left side of the fence with two hand clamps. Leave enough room so that the plywood pieces can slide underneath the clamp jaws.
Tilt the saw blade to 45 degrees. Slide the fence over so that the tip of the blade just barely touches the scrap board. Turn on the saw.
Slide four of the pieces over the blade on three sides. These are the sides of the box. Slide the fifth piece over the blade to miter it on all four sides.
Lay the four pieces out flat on a worktable. Spread a thin layer of glue on all the miters with a glue bottle and your fingertip. Stand the four pieces up on the side that you did not miter. Bring all four corner miters together. Wrap the box with two strap clamps and tighten. Wait one hour for the glue to dry.
Remove the strap clamps. Spread a layer of glue along the top mitered edge of the box. Drop the top piece on. Using finish nails and a hammer, nail the the piece on through the mitered edge, spacing the nails 4 inches apart, 3/8 inch from the edge. Wait one hour for the glue to dry and turn the box right side up.
Warnings:
- Always wear safety glasses when working with wood.