
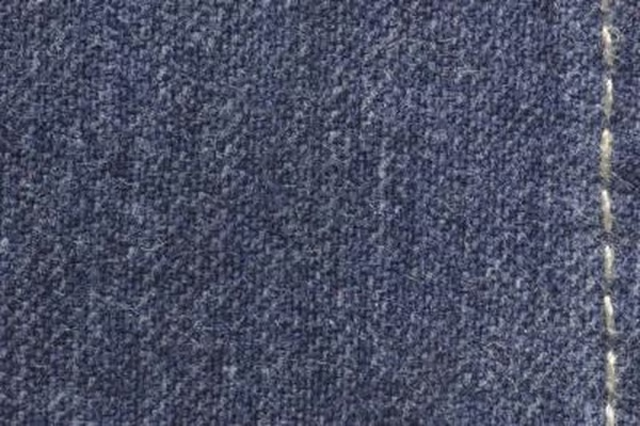


You may need to remove stitches from a sewing project if you make a mistake, or if you need to pull out temporary basting stitches after you’ve completed the final sewing. The easiest way to remove stitches is to use a seam ripper, available in the notions section of most fabric stores. Your sewing machine may even come with a small seam ripper in the toolbox, but you may find a larger seam ripper easier to hold.
Take your fabric somewhere you can sit comfortably and have good light. If you need reading glasses to see up close, you may want to put them on.
Hold the fabric so that you can clearly see the stitches you want to remove. You may be able to see the stitches most easily on the wrong side of the fabric. If you’re removing a seam between two pieces of fabric, you may be able to remove the stitches more easily by separating the two fabrics to reveal the stitches between them.
Slip the pointed end of the seam ripper under the first stitch. Then gently but firmly pull up to break the thread. If you reverse stitched over the beginning of the seam, you may want to start removing the plain stitches first. Then come back and remove the double-stitched area.
Slip the pointed end of the seam ripper under the next stitch and pull up. You may be able to pull the stitch out without breaking the thread.
Repeat Step 4 until you have removed all the stitches. If the stitches are fairly widely spaced, such as basting stitches, you may only need to use the seam ripper to break the thread every few stitches. Then pull the stitches out with your fingers.
Pull any loose threads out of the fabric, on both sides of the seam. If for some reason you cannot remove threads from an area, clip the thread as close to the fabric as possible.
Things You'll Need:
Things You Will Need
Warnings:
- Seam rippers are sharp. Be sure to use them carefully.