
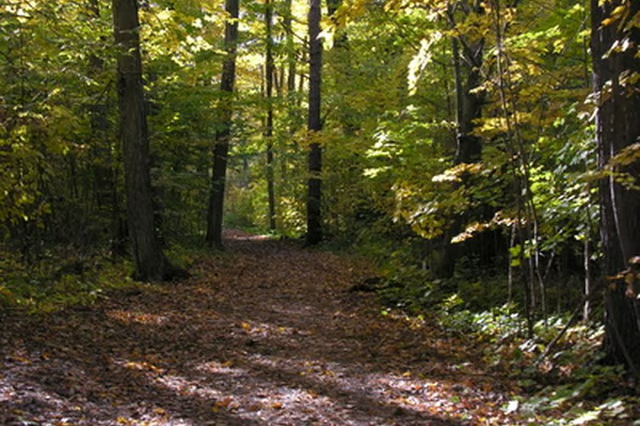


A path in the forest is often symbolic in paintings. Usually, winding paths mean journeys and split paths stand for choices in life. The phrase "the path less travelled" also applies to darker or surlier paintings of forest paths.
Peter Mork Monsted, the late realist painter from Denmark, created many works with forests as themes, most notably "Skovparti Med Alob" (River Landscape) and "Woodland Landscape." Both of these paintings showcase different types of paths and each reveals separate meanings about the forest. '},{'content':'A forest's path may wind in different directions or possess many colors, but a typical notion of paths includes perspective and vanishing point.
Things You'll Need:
Things You Will Need
Stroke out two curved lines that have a wide space between them at the bottom of the canvas, which then grows narrower as you work toward the vanishing point in the back. Choose a medium brown or green for realism acrylic painting, or a different color scheme depending on your season. Choose a direction for your path. You may want to have the path be straight or curve from left to right.

Choose a type of tree for your forest. You may want to look at a picture or study trees outside to decide what shape of leaves and branches you want the forest to have. You may want wide trunks or very tall trees with lots of space, or a very closed-in thick forest.
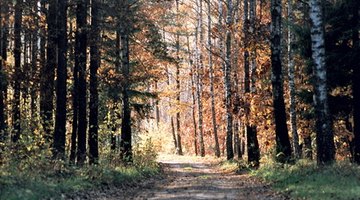
Start painting the trunks of the trees with a chestnut to dark brown color, depending on your chosen color scheme. Use long, vertical strokes with wider trunks at the front of the path, growing smaller as you fill in the forest to the back of the canvas. Work around your path on both sides, following its direction. Then stroke the branches and leaves for each trunk, remembering to make them smaller toward the end of the path.
Choose a direction of light, then mix your color with a little white acrylic paint or a lighter shade of paint. Brush the tree tops and edges lightly from the direction of the light source, using a smaller brush with short bristles. Then mix with a black color to shade in the shadows around the branches and trunks.
Fill in the path with sandy brown or olive green color using a medium flat brush to stroke vertically up to the back of the canvas. You want the path to be defined from the trees, so as you pick the color, make sure that it is darker or lighter than the colors of the trees.
Begin highlighting and shading your path according to a light source. Create shadows along the path by darkening the shapes of trees across the path. Add lighter colors to show light streaming from between the trees.
Please enjoy our virtual color mixer: