
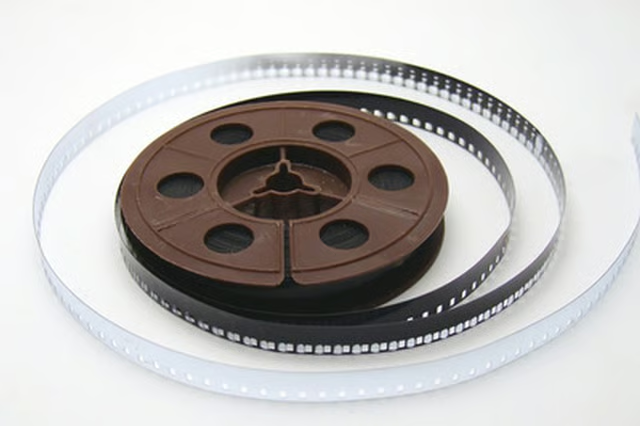


The Kodak Brownie 8mm movie projector is a rare, vintage and very special piece of movie projecting history. The Brownie model made low-cost film projection extremely popular, the first model being released as early as 1900, and was responsible for the conception of the "snapshot."
Things You'll Need:
Things You Will Need
Connecting the Projector
Remove the two screws on top of the projector and separate the halves of the projector at the top.
Locate the resistor showing the range of voltage tappings from 200 to 300 volts marked in 10-volt increments. Push the brass terminal at the end of the power lead onto the appropriate tag corresponding with the mains voltage in your area.
Close the projector. Open the compartment at the rear of the projector and remove the mains lead. Fit and wire an appropriate plug.
Setting Up
Place the projector on a secure support and at a desirable height. Choose the appropriate distance from the screen to achieve the desired projection size (23-inch by 30-inch at 11 feet, 30-inch by 40-inch at 14 feet, 36-inch by 48-inch at 17 feet).
Turn the control switch to “project." The projector motor will start.
Turn the “elevating knob” to vertically adjust the projection on the screen. Move the projector gently sideways to horizontally adjust the projection on the screen. Adjust the “focusing lever” until the margins of the projection on the screen are sharp.
Turn the control switch to “off."
Threading the Film
Use the “film cutter” to cut the leader square to the appropriate size. Move the upper reel arm to the upright position.
Place a reel of 8mm film on the upper spindle so the film draws from the top with the perforated edge toward you. Fit an empty reel to the lower spindle.
Turn the control switch to “project." Feed the leader into the film channel in front of the snubber just behind the lens until the perforations on the film are engaged with the claw mechanism.
Projecting and Rewinding
Adjust the “focusing lever” again to achieve a sharp and clear picture. Turn the “framing knob” to ensure black strips or the edges of the next pictures are not visible and the picture is properly framed.
Turn the control switch to “off” when finished projecting.
Interchange the reels on the spindles. Attach the film to the lower reel. Turn the control switch to “rewind."
Warnings:
- Supply the projector with 50-cycle AC electricity in the range between 200 and 250 volts, or risk damaging the operation of the projector.