


Making a mask out of poster board is a lot of fun for children. This project can be as elaborate or as simple as you like. If you provide only basic materials, this can be a simple project completed with minimal mess. If you like, however, you can provide lots of different mediums for decorating the masks--and the masks that result will be very fancy and exciting for children.
Things You'll Need:
Things You Will Need
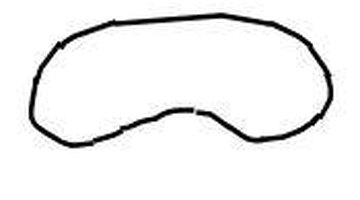
Draw a foundational mask shape onto the poster board for each mask you make. Make each mask shape the correct size for the face of the person who will wear the mask.
Determine the correct eye placement for each mask. This must be done individually for each mask. Make a small outline where the eyes should be on each mask with a pencil.
Use the X-Acto knife to carefully cut out the eyes on each mask. This step must be performed by an adult because X-Acto knives are very sharp.
Determine what character, animal or monster will be made from the foundational mask shape.
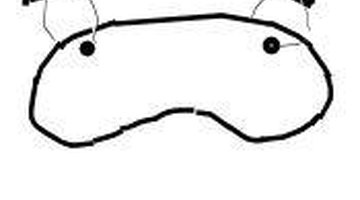
Draw various shapes for ears onto the poster board and cut them out. The ears can be attached by punching holes in the bottom of the ears and the mask at the point where the ears will be attached. Thread yarn through both holes and tie it in the back to secure the ears to the mask.
Add facial features with markers, paints or embellishment materials. Add whiskers, eyebrows, eyelashes and any other features to decorate the masks. If using paints, allow the paint to dry completely before proceeding to the next step. If attaching embellishments with the hot glue gun, allow the glue to set completely before proceeding to the next step.
Punch a hole in both sides of the mask at the same height as the holes for the eyes.
Cut two 8-inch lengths of yarn. Tie one length of yarn to each side of the mask in the holes punched in Step 7.
Tie the mask onto the face using the yarn lengths.
Warnings:
- Use extreme care when using the X-Acto knife and the hot glue gun.