
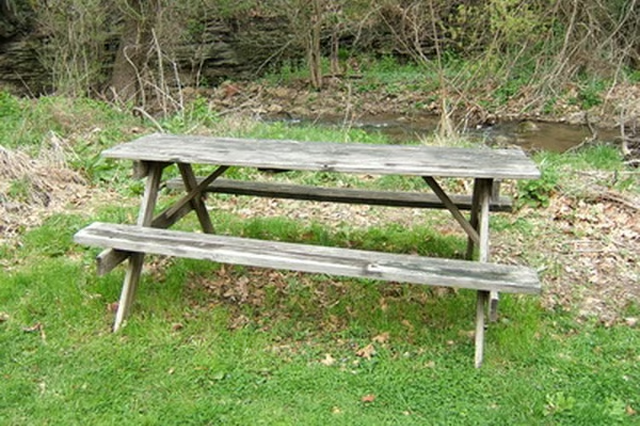


The classic wooden picnic table is a backyard staple for many families. Often the first lawn furniture that a young family will buy, these tables are inexpensive, sturdy and will serve a family for years. By the time the children are in elementary school, your picnic table benches might look the worse for wear. Finishes wear away and wood begins to chip and splinter, turning your seating arrangement into something relegated to the back of the garden. Top your benches with a colorful covering and you can change them back into backyard stars in one weekend.
Things You'll Need:
Things You Will Need
Measure the length and width of your bench top. Add 6 inches to each measurement. This will be the size that you cut the vinyl fabric.
Cut two pieces of thick vinyl fabric the size that you calculated with the bench measurements. Make sure that you cut the pieces right next to each other on the fabric if it is a print, to make sure that the benches match each other when your project is finished.
Lay one piece of vinyl on a flat surface with the right side, or colorful side, facing down. Place a picnic table bench upside down on top of the vinyl. Measure the vinyl that sticks out around the bench to ensure that there is a 3-inch border on every side.
Pull the vinyl on the right end over the bench side to the bottom of the bench. Place a staple in the center of the vinyl to hold it to the bench. Pull the vinyl on the left side of the bench over to the bottom and place a staple in the center of this edge.
Pull the vinyl at the top edge of the bench over and attach it with two staples, each one about a third of the way down from the end. Do the same along the bottom edge of the bench. You now have a bench with vinyl lightly tacked onto it.
Pull the right and left side edges of the vinyl up and over the bottom of the bench and run a line of staples along the edge of the vinyl. Place each staple right next to the previous one, to create a continuous line of staples.
Pull the top edge of the vinyl over the bottom of the bench and run a continuous line of staples along this edge. Make neat folds in the corners so that they don't appear bunched up when the bench is upright. Do the same along the bottom edge of the vinyl. Follow the same steps to complete the second bench.
Warnings:
- Do not do this project directly after a rain. Allow the wood to dry completely before covering it with vinyl.