
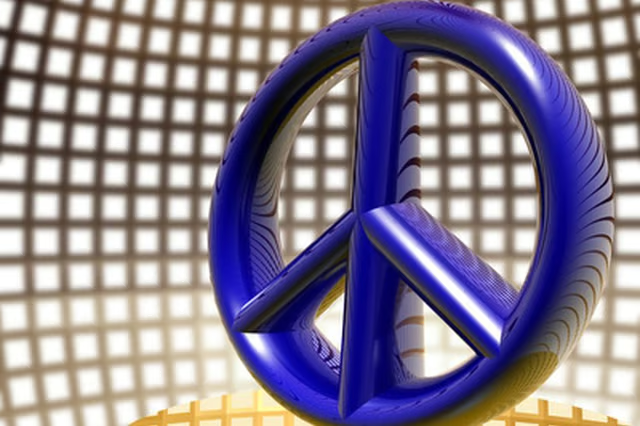


Hippies, beads and the peace sign - all these are associated with the love and peace vibrations of the middle and late 1960s. The peace sign, similar to an upside down "Y" inside a circle, has come to be a symbol that is universally recognized. Designed in 1958, the symbol first represented the campaign for nuclear disarmament in Britain. It later came to symbolize the world-wide peace movement. With some basic supplies, you can make your own stencil of this iconic sign.
Things You'll Need:
Things You Will Need
The Circle
Place the stiff cardboard on a flat surface and draw a circle on it the size you want the finished stencil to be. Use the compass for this or draw around a plate or a glass. Mark the center of the circle with a small dot.
Draw a second circle, with the same center as the first circle, about 1/2 inch inside the first. Adjust the compass for this or use a smaller plate or glass. This forms the rim of the sign.
Draw a line, using the ruler and pencil, from the top of the larger circle down through its center to the bottom. Draw a line for from the left side of the larger circle through the center to the right side. These are the reference lines.
The Stems
Draw lines on either side of the vertical reference line, about 1/4 inch away, from the top of the circles to the bottom. This forms the vertical stem of the sign, which is usually the same width as the rim of the sign. Change the distance of the lines from the center line if the stem is too wide or too narrow.
Draw a line from the center to the lower left-hand side of the circles, at a point halfway between the two reference lines. Draw additional lines on either side of this line, the same distance away as the top stem lines.
Repeat this for the right-hand side of the stencil. You now have a vertical stem and an upside down "V".
Cutting It Out
Lightly shade the stencil rim between the two circles and the three stems.
Cut out the four unshaded segments using sharp scissors or a craft knife. Turn the card as you cut to keep the line smooth and curved.
Coat the stencil on one side with the acrylic gloss or varnish using the foam brush. Let this dry and then coat the other side. This forms a water- and paint-proof coating.