


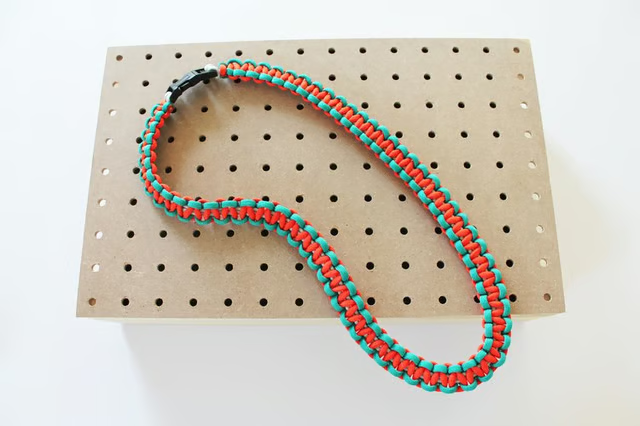
Go survivor chic by taking this trendy camping accessory and turning it into a long statement necklace. Paracord is inexpensive and comes in a variety of colors and patterns, making the design possibilities almost endless.
Things You'll Need:
Things You Will Need
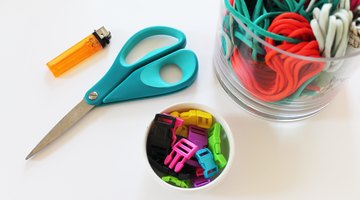
Cut the Necklace Cord
Double up the cord and decide how long you'd like your necklace to be by laying it out on your work surface. Cut the ends to desired length.
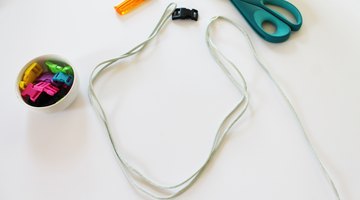
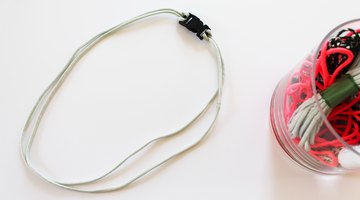
With a lighter, carefully melt the cord ends and quickly press them together so that they fuse together, creating a long loop.
Warnings:
- Use caution when melting the ends and fusing them with the lighter. Children should not attempt this craft by themselves.
Add a Buckle Clasp
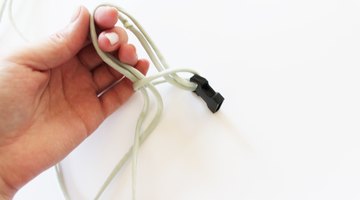
Feed the ends of both parts of the cord through the slotted ends of the buckle clasp.
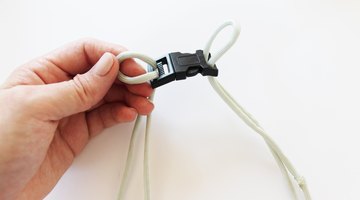
Unbuckle the clasp and pull the ends through the loop; create a slipknot on either side of the buckle.
Knot the Necklace
Fuse two long lengths of cord in your chosen colors with a lighter.
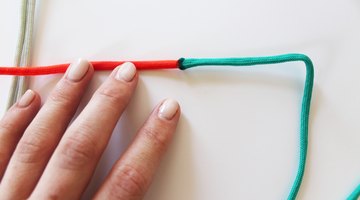
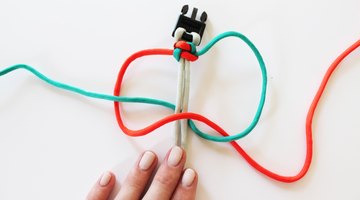
Center the fused exterior cord on the underside of the necklace and tie a half-knot at the base of the buckle to secure the inner and outer cords.
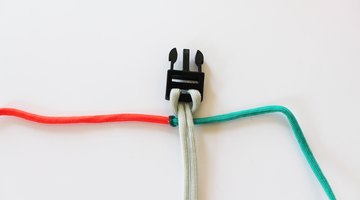
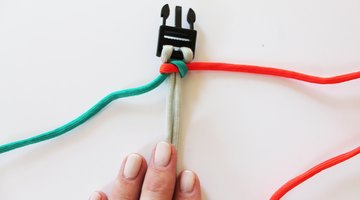
Cross the cord on the left behind the doubled inner cords, creating a loop in the shape of a "4."
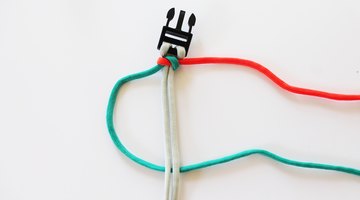
Pass the cord on the right behind the cord end originating on the left over the doubled necklace cords and through the loop you created on the left. Pull the ends to tighten and create the first knot.
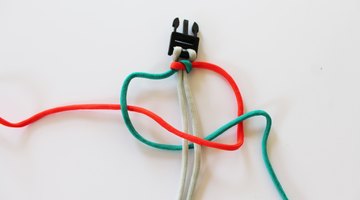
The next knot you create will be the inverse of Steps 1 through 3. Alternating sides prevents the knots from twisting and keeps your necklace flat. In this example, the first loop is always created by the teal cord.
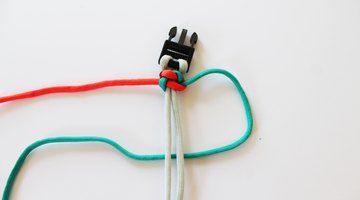
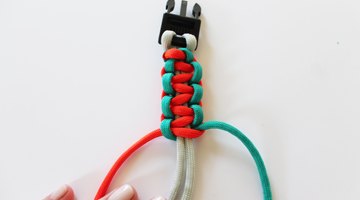
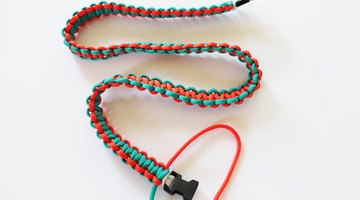
Continue alternating sides and knotting the necklace until you reach the other end of the buckle. If holding onto the necklace poses a problem, use a clipboard to help you hold the cord in place as you knot it.
Finish the Ends
Trim the ends, leaving 1/8th of an inch after the last knot.
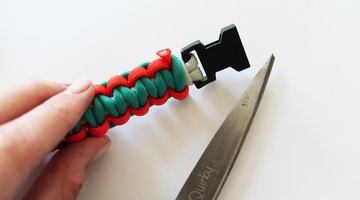
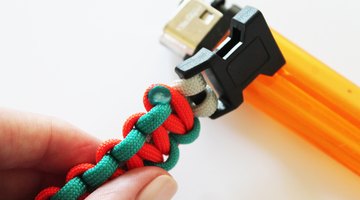
With a lighter, carefully melt the end of the paracord and use the bottom of the lighter to flatten melted plastic into the surrounding cords. This will prevent the ends from pulling through.
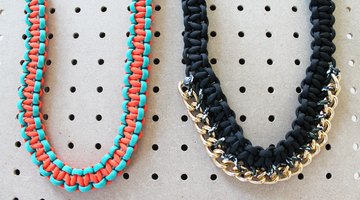
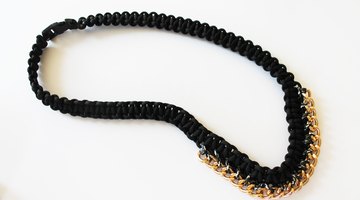
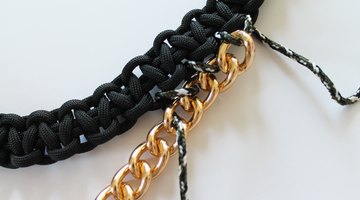
These necklaces make the perfect accessory whether you are going out on the town or into the wilderness on your next glamping adventure.
Share your questions, comments, and survival tips in the Comments section below.