
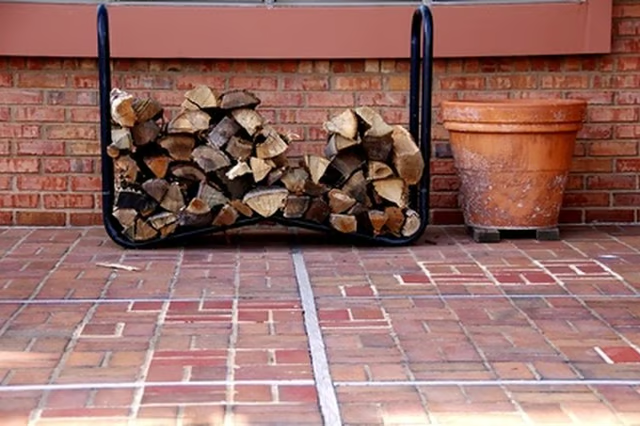


A firewood rack is useful when stacking firewood in the house near the stove or fireplace. The rack allows the wood to be contained neatly in one place and not scattered about as when stacked on the floor. A rack 2 feet long, 2 feet high, and 12 inches wide, made from 1/2 inch galvanized steel water pipe, makes a sturdy wood rack that can be placed in the house and doesn’t take up a great deal of space.
Things You'll Need:
Things You Will Need
Screw an ell joint onto each end of two of the 24 inch pipes. Twist the ell joints on tightly finishing with the openings of all four ell joints facing upward evenly.
Spin the remaining two 24 inch pipes into the ell joints of one of the 24 inch pipes and tighten them down. Screw an ell joint onto the tops of each of the upright 24 inch pipes; tighten both ell joints finishing with the openings of both facing in the same direction.
Screw a 12 inch pipe into each of the two ell joints on the second 24 inch pipe and tighten them down.
Attach a 12 inch pipe to each of the ells at the ends of the 24 inch upright pipes and tighten them into the ell joints. Screw an ell joint onto the ends of these two 12 inch pipes, tighten them in and finish with the openings of both ell joints facing down.
Spin a 12 inch pipe into each of the downward facing ell joints and tighten them in.
Attach half of each pipe union to the ends of the downward facing 12 inch pipes, screw them on and tighten.
Spin the other half of the pipe unions to the 12 inch pipes attached to the second 24 inch pipe, screw them on and tighten.
Bring the two halves of the pipe joints together and screw them together and tighten. The rack is complete and will stand on its own. The rack can be spray painted with metal grade paint.
Warnings:
- Take care when using the pipe wrenches, do not over tighten the fittings together as this can cause the teeth in the wrench jaws to tear up the pipe leaving it unsightly with rough edges that will need to be filed down to prevent cuts when the rack is handled.