


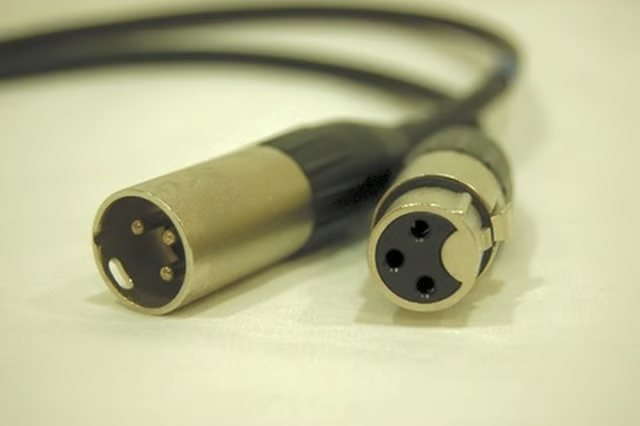
Digital multiplex (DMX) cables are exactly the same as standard microphone cables. Used to power and command stage lighting fixtures, the two-conductor shielded cable sends addressing information and commands from the lighting controller to the fixtures via DMX dimmer packs. Making DMX cables requires solder skills and simple solder and wiring tools. Although true DMX protocol requires five-pin connectors, this configuration is used only in very high-end concert and theatrical systems. The current industry for standard professional club and DJ fixtures and controllers is three-pin connectors, which fit virtually all common DMX products.
Things You'll Need:
Things You Will Need
Strip about 3/4 inch of insulation from each end of the cable with wire strippers, exposing the two insulated wires and outside shielding. The shielded ground wire will be bare stranded or braided wire, one wire will have white insulation and the other will have black insulation.
Strip about 1/4 inch of insulation from both the black and white insulated wires, exposing the wire core.
Heat each wire with the soldering iron, and "tin" with solder by applying a small amount to the heated wires, one at a time.
Unscrew the strain relief set-screws from the side of both XLR connectors with a small screwdriver, until you can release the top section from the recessed bottom section. Only back out he set-screws enough to release the two sections, because they are small and difficult to replace.
Thread each cable end into both top sections of the dissembled XLR connectors, until they protrude through the bottom. Insert each end into the black rubber strain relief first, so the wider open end is what the cable will come out of.
Solder the shielded ground wire to pin number one on both connectors.
Solder the white wire to pin number two on both connectors.
Solder the black wire to pin number three on both connectors.
Insert the connectors back into the housing by lining up the side pins and gently pushing them into the recessed area.
Tighten the strain relief set-screws on both connectors, and your DMX cable is ready to go.
Warnings:
- Use caution when working with solder and soldering irons, and always wear safety glasses. Molten solder can sputter without warning, causing severe burns and eye injury. Use care and proper pressure setting on wire strippers when stripping cables. Cutting too deep may damage internal wiring, causing shorts or faults.