
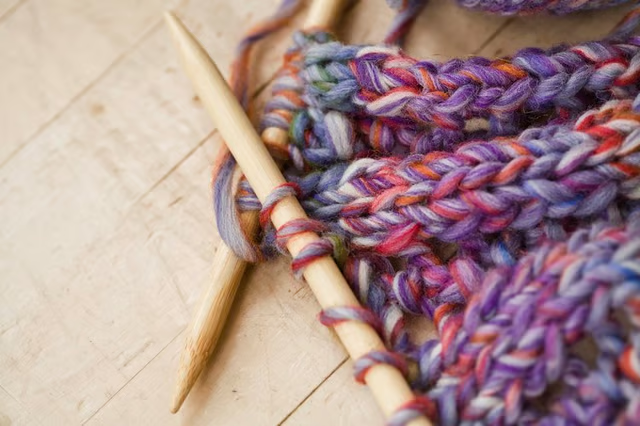


A turtleback sweater or jacket is a cozy combination of a shawl, shrug and sweater. A hand-knit turtleback sweater is actually simple to knit, though the final product appears more complicated than it really is. The garment consists of a ribbed rectangle or square folded in half and seamed to make armholes. The body of the rectangle forms the back of the sweater, and the cast-on and bind-off edges make a collar and a bottom border. Add a button to the front, secure the fabric with a shawl pin, or leave the front open for a loose and flowing appearance.
Things You'll Need:
Things You Will Need
Knit Rectangle
Cast on 124 stitches using the larger needle. Make a slip knot around one of the larger knitting needles, and tighten. Create a backward loop in the yarn so the working yarn is between the loop and the needle. Slip the loop onto the needle and tighten the working yarn so you now have two stitches on the needle. Repeat this process until you have 124 stitches on the needle, including the slip knot.
Create a ribbing pattern. Knit two stitches, and then purl two stitches, and repeat across the first row, which is the right side. On the wrong-side rows, purl two, and then knit two stitches across. Alternate these two rows until the piece measures 4 inches.
Switch to the smaller needles, and use the ribbing technique of knit two, purl two until the piece measures 38 inches from the cast-on edge.
Switch to the larger needles, and knit 4 inches using the ribbing technique of knit two, purl two for 4 more inches.
Bind off. Your piece will measure approximately 34 inches by 42 inches.
Construct Sweater
Fold the rectangle in half with the right sides together so the cast-on edge lines up with the bind-off edge.
Measure 8 inches from the fold on one side using a tape measure, and mark the spot with a removable stitch marker.
Measure 8 inches from the fold on the other side using a tape measure, and mark the spot with a stitch marker.
Join the edges together on one side, beginning at the stitch marker and closing the edge, to the cast-off and bind-off edges using a whip stitch. Repeat on the other side. This will leave armholes at the fold of the rectangle.
Weave in any loose ends.
Fold the cast-on edge over to create a collar.