
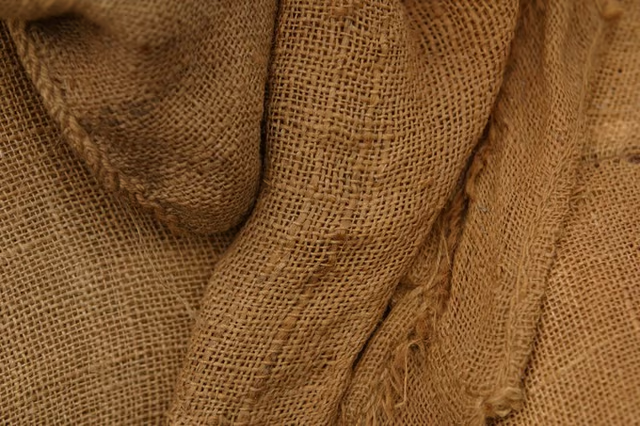


Burlap is a rough-textured fabric perhaps best known for being made into bags for large quantities of foodstuffs such as potatoes or coffee beans. Give your walls a different look by gluing burlap cloth to the surface. Fabric manufacturers create burlap in a rainbow of colors, giving you the opportunity to give your wall an attractive texture while keeping with your color scheme. If you've hung wallpaper, you can put burlap on your walls, as the tasks are almost identical.
Things You'll Need:
Things You Will Need
Measure the burlap into 2-foot wide sections, and cut it into pieces with very sharp scissors. Cut the burlap strips on the length of the fabric if you're using cloth from a bolt, and make them the height of the wall plus 2 inches. Cut the burlap into 2-foot-wide strips as long as possible if you're using bags.
Put on a pair of rubber gloves. Fold up each strip of burlap loosely. Fill a wallpaper tray halfway with cellulose wallpaper paste. Place three strips of burlap into the paste, and allow them to soak for 10 minutes. This will let the glue soak into the middle of the fibers and help the burlap stick to the wall.
Remove one strip from the tray, and paste the leading edge to the top of the wall in one corner. Unfold the strip, pasting the fabric down on the wall as it's unfolding. Push down on the surface of the fabric to help it adhere to the wall.
Remove another piece of burlap, and add it to the wall. If you're using strips of fabric, add it next to the first one as if you were pasting on wallpaper. If you have pieces of burlap bags, add the pieces in a patchwork design to cover the walls. Unfold and use the third piece on the wall in the same manner.
Fold up and soak three more pieces of burlap. Smooth out the fabric on the wall while the new pieces are soaking. Push gently on the burlap to remove any air pockets or creases, but take care not to stretch or warp the fabric.
Continue adding pieces of burlap until the entire wall is covered. Allow the surface to dry completely.
Trim the edges of the wall with sharp scissors. Try small embroidery scissors for tight corners and stray threads.
Warnings:
- Do not trim the ends with a box cutter or craft knife. These razor blade tools can pull the fabric out of place, warping the surface. Use only scissors to trim the edges and stray threads.