
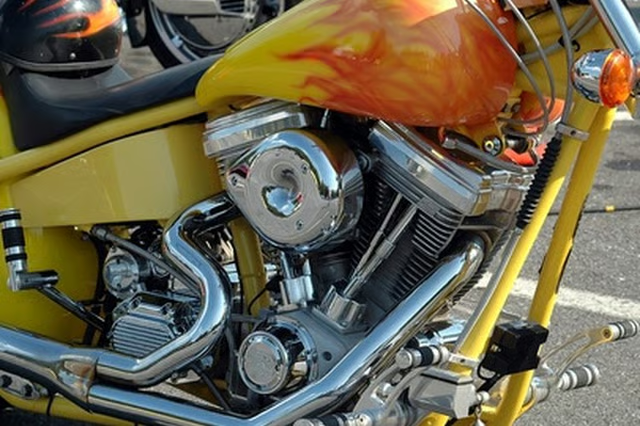


A custom painted gas tank is the focal point of a customized street bike. It's nearly mandatory to custom paint the tank on a chopper motorcycle. The tank provides the largest metallic surface for painting. Its location at the bike's midsection makes it the center of attention. Many different designs and motifs are traditionally custom painted onto a motorcycle's gas tank. Flame jobs are perennial favorites. Skulls, fantasy art, pin ups and tribal patterns are all popular. By properly following several easy steps, anyone can custom paint a motorcycle gas tank.
Things You'll Need:
Things You Will Need
Drain the gas tank completely by disconnecting the fuel line. Run the gas out into a sealable can. Remove the sensors for the fuel gauge. Take off all the chrome. Unscrew the gas tank from the bike's frame. Set the tank on a work bench where it can be secured with a vise or clamps so it doesn't move around as you work.
Sandblast all the old paint off the tank. Sand it down to bare metal. Wet sand by hand for the hard to get places. Continue sanding until the entire tank is smooth and blemish free. Tape off around the gas tank fill hole and any areas you don't want painted. Choose between lacquer or enamel automotive paint and use the appropriate primer. Spray on several coats of primer allowing time for each layer to dry. Sand your primer with high-grit sandpaper until it's smooth.
Prepare a design for your custom paint job. Draw some ideas for flame jobs, as they are always in style. Practice drawing stylized or realistic looking flames. Look at pictures of hot rods from the 1950s and 1960s for ideas. Use painted pin stripes for a stylish effect. Spray on the base coat to provide the background color. Perfect your design, then draw it lightly onto the tank using thin lines of paint from your airbrush. Use stencils if you don't want to work freehand.
Spray on a layer of clear coat over your base coat. This will protect it in case you have to sand and repaint areas of the tank. Mix your paints up according to their directions. Spray them on in layers to build your outlines into solid looking forms. Use the sprayer for blocking in and the airbrush for finely detailed work. Use the airbrush to provide delicately shaded tones and hues.
Add the final touches and highlights to your tank. Use the sprayer to apply several thin layers of clear coat over the tank when you're done painting. Lightly hand sand, then apply the finishing layers of clear coat. Buff out the final finish with a foam buffing pad on your polisher using buffing compound.
Warnings:
- Do not inhale paint fumes as you work. Never let the paint run or drip. If it does, don't let it dry or it'll be hard to sand down.