
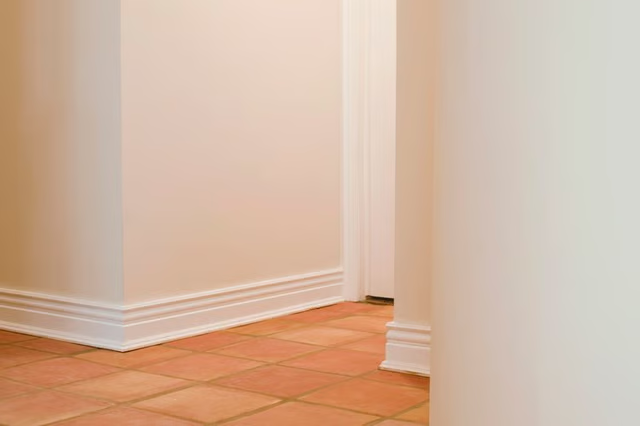


There are different ways to bend wood, including steam, laminating thin pieces together or simply forcing it. These methods produce mixed results. The majority of trim carpenters use kerfing to bend molding. Kerfing is a process that involves small cuts in the back of the molding that allow it to bend. Walls with angled corners rely on mitered joints, so they require cutting the wood molding. But if your walls are curved, kerfed molding adds the graceful bends you're looking for. Do it with an ordinary miter saw.
Things You'll Need:
Things You Will Need
Measure around the curved portion of the wall. Use a miter saw to cut a piece of molding at least 4 inches longer than this area on both ends. Measure to the center of the molding on the back, and make a mark.
Raise the blade on the miter saw 1/8 inch above the miter saw table. Place the molding on the table face down, centered on the mark.
Turn on the saw. Cut across the molding on the mark. Slide the molding 1/4-inch to the left or right, and make another cut. Continue making cuts in the same direction until you reach the 4-inch mark on one side. Repeat the procedure on the opposite side of the center mark.
Apply construction adhesive to the wall where the molding will be placed, and on the back of the molding. Place the molding on the wall, starting at one end.
Bend the molding around the wall to the opposite side of the curve. Nail the molding to the wall with 2-inch finish nails. Start at one end by nailing through the 4-inch portion of the molding without kerf lines and continuing around.
Fill the kerf lines along the top of the molding with color-matched wood dough using a putty knife. Sand it smooth with 100-grit sandpaper after the wood dough is dry.
Warnings:
- Don't use a rip blade, or any blade with teeth that tip back and forth radically. Also known as "set," this produces a rough cut not suitable for kerfing. Use square-cut or hollow-ground carbide-tipped blades for best results. Combination or cabinetmaker's blades work well. Don't nail through the kerfed portion of the molding. It can cause the molding to split. Wear eye protection when woodworking.