
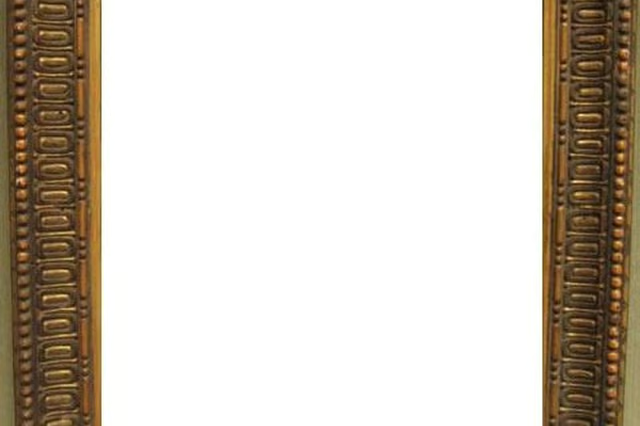


Masonite is growing in popularity as an artists' medium. Unfortunately, unlike a canvas, it is challenging to hang masonite art without first framing it. Framing a piece of masonite art is a relatively simple process, as described in detail here.
Things You'll Need:
Things You Will Need
Begin by measuring the masonite art that is to be framed. Make a small diagram and note the length and width of the art at several points. Measure diagonally from corner-to-corner to ensure that the art is square.
Once you have accurate measurements, add 1/8" to all dimensions (to allow for expansion due to heat and moisture) and cut the lengths of molding in the miter box to form the legs of the frame. Remember to measure from the inside lip of the molding and cut all miters cleanly at a 45 degree angle.
Cut the legs for the strainer to the same size as the art. Use the miter box and measure from whichever side of the 2 inch wood you designate the inside.
Join the corners of the frame and strainer in the framer's vice using wood glue and a nail gun. Apply glue liberally to each corner, then lock it into place and add one nail or brad in the end of each leg.
Once the strainer and frame are joined, make sure that the strainer fits comfortably into the frame (it should, since it was measured to the size of the art and is therefore 1/8 inch smaller than the frame on each side).
To fit the frame, begin by preparing a work surface. This can be done by laying craft paper or a piece of clean, soft fabric on a flat surface that is larger than the frame.
Lay the frame face down on the surface and insert the strainer. Do not insert the art yet. If the art is thicker than 1/4 inch, use paper or cardboard to simulate the art and push the strainer up (towards the back of the frame). At several points on each side of the strainer, about 4 inches apart, use a power drill to bore holes through the strainer at a 45 degree angle and into the frame. Make sure not to drill through the surface or the sides of the frame
Remove the strainer (and paper or cardboard) and insert the masonite art. Replace the strainer and screw the strainer into the frame using the pre-drilled holes.
Measure and attach the eye screws 1/3 of the way down each side of the frame. Run the picture hanging wire between the eye screws and fasten tightly with a knot.
The framed masonite art is now ready to hang. Be sure to use wall hangers that are more than sufficient for the weight of the finished piece, remembering that masonite itself is heavy and has been made even heavier by the addition of the frame.