
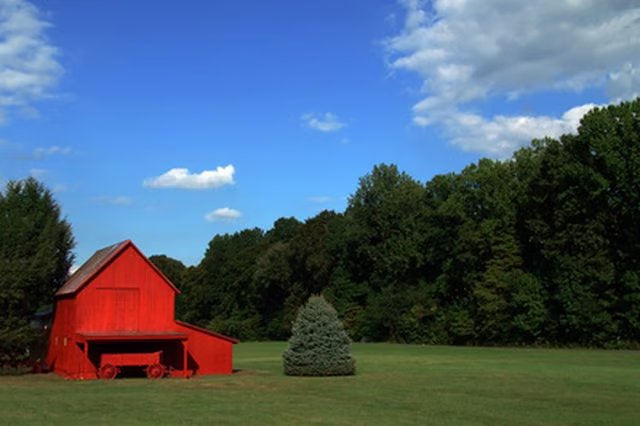


If your child loves playing with toy animals, you can build him a toy barn out of wood. A wooden toy barn for a child can be a plaything, and it can be a place to store animal figurines. There are many different types of barns, and toy barns can be as simple or as detailed as you want.
Cut a rectangular piece of plywood so that it is 2 feet in length by 1 ½ feet in width. Make it bigger or smaller if you want. Use a power saw (if available) or hand saw to cut the wood. This will be the front of your toy barn. The front of your barn in this case will be 2 feet long by 1 ½ feet high.
Draw a large X from corner to corner on one side of the plywood. Use a pencil and a straight edge. This will help you find the center of the piece of wood. Then draw a straight, vertical line across the center of the X. Draw a door, as big as you want, at the bottom of the wood, towards one of the edges. Cut the door out using a power saw or hand saw.
Cut another rectangular piece of plywood to the same dimensions as the first piece. This will be the back side of your barn. If you want to have a back door on your barn, create one just like the front door.
Cut another rectangular piece of plywood so that it is 1 foot in length by 2 feet in width. Make it bigger or smaller if you want. Use a power saw or hand saw to cut the wood. This will be the side of your toy barn. The side of your barn in this case will be 1 foot long by 2 feet high.
Draw a straight, horizontal line 6 inches from the top edge of the side of your barn. Then draw an X from corner to corner inside the 6 inch space. Next, draw a straight, vertical line across the center of the X. Then draw a line from the top of the vertical line to one of the corners of the horizontal line. Draw a second line from the top of the vertical line to the opposite corner of the horizontal line drawn. Cut the wood on the outside of the lines.
Repeat these steps on another piece of rectangular wood to create the other side.
Glue the sides of the barn to each edge of the front of the barn using wood glue. Clamp the pieces together until the glue dries. Then glue the back of the barn onto the structure. Clamp the pieces together until the glue dries.
Cut a final piece of plywood so that it is 3 feet by 3 feet. This will be the bottom of the barn.
Glue the structure to the bottom of the barn. Center the barn if you want, or place it at one of the corners of the bottom.
Smooth out the plywood using sandpaper. Finish the barn by applying wood finish, paint or gloss. Or let your child decorate it however she would prefer. You can build a roof for the barn if you want, but leaving it without a roof will make it easier for your child to play.