
The bucket hat, traditionally worn by fisherman and farmers, has an all-around brim which protects your eyes and face from the sun’s rays. This stylish hat can be worn many ways by folding the brim on different sides. It is reversible, easy to make, and can be fashioned from many fabrics.

Things You'll Need:
Things You Will Need
How to Make a Bucket Hat

Choose lighter weight fabrics for summer and wools, corduroys, flannel and other heavy fabrics for the cooler weather in the fall and winter. Please see the last slide for an itemized list of tools and materials.

Print and cut out the template (see Resources on the last slide). Cut one hat top, one band, and one brim from each fabric. Be sure to cut the bands and brims on the fold as indicated on the template.

Cut one hat top, one band, and one brim from iron-on interfacing, using the cutting lines indicated for interfacing. Iron the interfacing onto one set of fabric pieces.
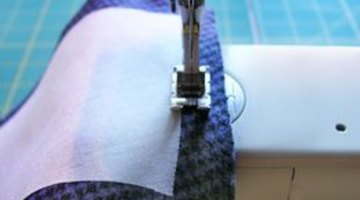
Starting with the interfaced pieces, stitch the band into a circle, using a 5/8-inch seam allowance.
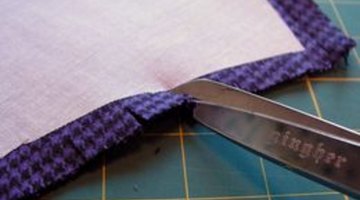
Clip the inner curve of the band about every inch. Make each cut about 3/8 inch deep, and be careful not to cut too close to the 5/8 inch seam line.

Fold the hat top in half and mark the center on each side. Mark the middle point on the band piece. Match one center mark on the hat top with the mark on the band and pin in place; match the other mark on the hat top with the mark on the band and pin in place. Matching raw edges, pin the band to the hat top all the way around.
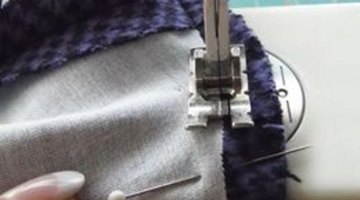
Stitch the band to the hat top, avoiding puckers or pleats. Do not sew over the pins -- remove them ahead of your stitching as you work your way around the band.

Press the seam toward the band and turn the assembly right side out. Topstitch close to the seam line on the band side.

Pin the brim to the lower edge of the band as described in steps 5 and 6. Stitch this seam in place. Press the seam toward the band and topstitch on the band side.
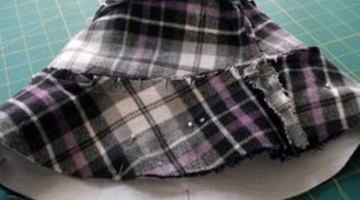
Repeat steps 4 through 9, using the second fabric. Pin the assembled pieces together, right sides together and the center seams matched.

Stitch around the lower edge of the brim, leaving a 3-inch opening to turn the hat. Turn the hat rightside out through the opening. Press in the seams at the opening and top-stitch close to the edge all around the brim edge, closing the opening. Topstitch the seam between the hat band and the brim.