
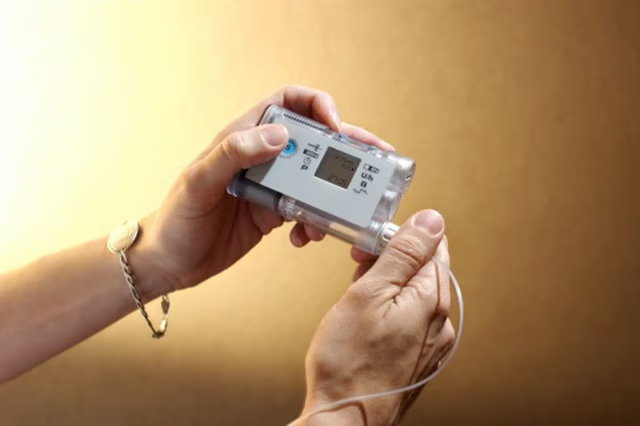


According to the American Diabetes Association, 8.3 percent of the United States population is diabetic. Out of those 25.8 million people, many treat their disease with an insulin pump. The external pump delivers insulin to the body via a drip similar to an intravenous infusion. Insulin pumps can cost in excess of $5,000. They are durable equipment, but accidents do happen. Also, many pump wearers choose to conceal their pump with a case. There are many pump cases available for purchase, but you can adapt an iPod cover pattern and make your own custom case for your insulin pump.
Iron the fusible batting piece to the non-printed side of the lining fabric.
Stack the outside fabric on top of the lining fabric so the printed, or right, sides are together. Pin the fabrics together.
Sew together on four sides, leaving a 3-inch open space in the middle of one of the short sides. This will enable you to turn the case inside out.
Clip the ends of the corners off. Do not cut any of your stitches. Cut between the stitches and the corner. Turn the case inside out through the open hole.
Fold the hem fabric inside the hole following the sewn seam and press with the iron.
Top stitch along the side you pressed to close the opening. The case is now a long, rectangular, hemmed piece.
Place your pump on top of the case and fold the end over the pump. The lining side should be facing up so you will be setting you pump on the lining side. When you flip the fabric up, it should cover the pump plus about a 1/2". Mark this spot with a fabric marker. While the pump is there, mark where the clip is on the pump as it sits. If you want to make a hole for the clip, now is the time. Measure the width of the clip and sew a button hole in the case at the correct spot.
Remove the pump. Refold the case to the spot you marked. Pin the fabric together.
Sew the three sides together.
Hand sew a piece of velcro or snap on the flap and the case.