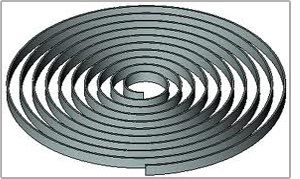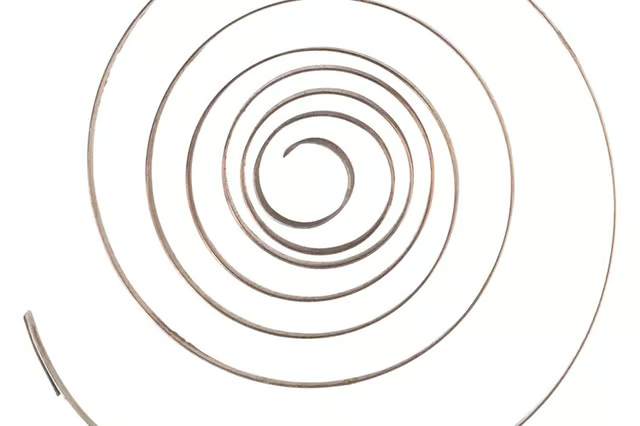
Flat coil springs consist of a flat strip of metal that’s wound in a spiral pattern. When the outside end is kept in place and the center is wound tightly, the spring will release the energy stored from the winding. A common example of this is the mainspring in a mechanical clock, which will turn the clock’s gears once wound. Mechanical clocks, seatbelts and numerous other technologies rely on flat coil springs to store and release energy. Creating a basic flat coil spring is very simple, requiring only a strip of metal and a form to wrap it around.
Drill a small hole near one end of a thin strip of hardened steel using an electric drill with a 1/8-inch drill bit. The hole should be about 1/4-inch away from the very edge. Drill another hole on the opposite side of the strip in the same location.
Attach one end of the metal strip to the middle of a 1/2-inch-diameter wooden dowel by screwing a short flat-headed screw into the dowel through the hole. The screw is only temporary. It will be used to hold the coil in place while being wound.
Wrap the strip around the dowel, overlapping the strip every time you make a complete turn. Continue to do this until the strip is completely wound into a coil. Keep the coil tight while turning, or else the spring will be off-balance and may not wind or unwind properly.
Release the spring carefully with the dowel still attached. The spring should expand outwards, leaving gaps between the coils. Remove the completed coil from the dowel by removing the screw holding the two together.