
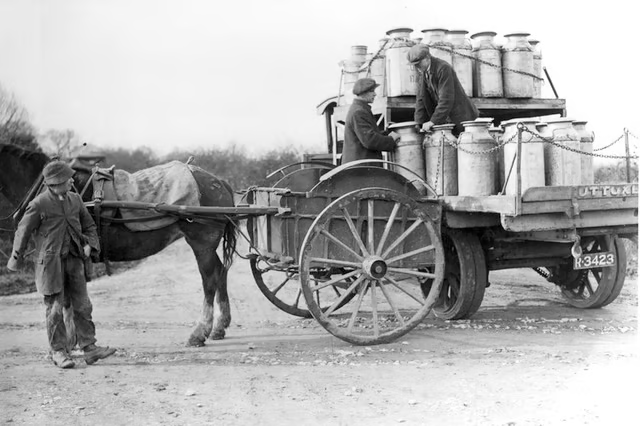


Restoring an old metal antique milk jug is not a big task. Old metal milk jugs make great decorations in a country home, or when trying to emulate a countryside feel in your home. These jugs were generally produced with an enamel paint finish that over the years weathers and eventually cracks, allowing rust to form. Bringing one of these old jugs back to life is easy with modern tools and can look like new in just a few hours.
Things You'll Need:
Things You Will Need
Warnings:
- Always wear appropriate eye protection when operating power tools.
Remove all paint, rust and debris from the milk jug by laying it flat on the ground and grinding all surfaces of the jug with an angle grinder and a brass wire brush. This tool will allow you to quickly strip the bottle without damaging the metal under it. Don't forget to put on your eye protection before you begin using the angle grinder.
Wrap a sheet of 200 grit sandpaper around a sanding block and sand the surfaces of the can smooth by sanding from top to bottom. Repeat when finished with some 440 grit sandpaper to prep for painting. There should be no marks left over from the grinder or sanding when finished.
Clean the can of any oil or grease by wetting a rag with some Varsol or paint thinner and rubbing the surface of the jug with it. Allow for a few hours to pass to ensure all residual thinners have evaporated before beginning painting.
Spray the can with a coat of enamel paint primer, which is available at your local hardware store. Apply the primer by spraying from top to bottom, 12 inches from the surface of the milk can, constantly moving the spray evenly over all surfaces to avoid the formation of drips. Allow for the primer to dry according to the manufacturers directions before moving on.
Paint on a layer of enamel paint. Select a color and paint in the same fashion as with the primer, waiting for the paint to thoroughly dry before adding subsequent coats. Paint on stencils or other decorations once the enamel coats have dried.