


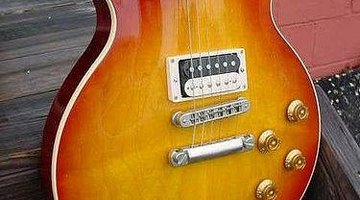
A damaged neck can render a guitar unplayable, which makes repairing it properly especially important for an expensive model like a Gibson Les Paul Custom. Replacing a set neck is difficult and quite costly; however, properly done, it will cost less than buying a replacing the guitar.
Things You'll Need:
Things You Will Need
Determine that the neck really needs to be replaced. Replacing a set neck is quite difficult and expensive. In many cases, repairing the neck will be cheaper and more effective.
Steam the neck joint. When the glue becomes sticky, carefully pull off the broken neck.
Sand off the remaining glue residue on the body after it becomes dry again.
Get a replacement neck either by building it yourself or having it custom made. Set neck joints are not as standardized as bolt-ons, so this neck should be built to fit the body of the guitar.
Check that the neck fits the joint and angles properly when inserted into the body. If it does not angle properly, the neck will either need to be sanded down or small pieces of wood added between the neck and body to get the proper angle.
Glue the neck to the body with high quality wood glue. Make sure it is resting at the angle you want as the glue dries. If the neck is at the wrong angle after the glue hardens, you will need to remove it and try again.
Sand off any extra glue after it dries. If desired, refinish the body and neck to hide the neck joint.
Warnings:
- Replacing a guitar neck should be done very cautiously and only as a last resort. It is quite possible to ruin a guitar by doing this repair incorrectly. Replacing a set neck is difficult, even for trained luthiers. People without woodworking experience should seriously consider having a skilled luthier make this repair. Follow the instructions for the wood glue or finish you use. Each brand may work slightly differently in regards to drying times, etc.