
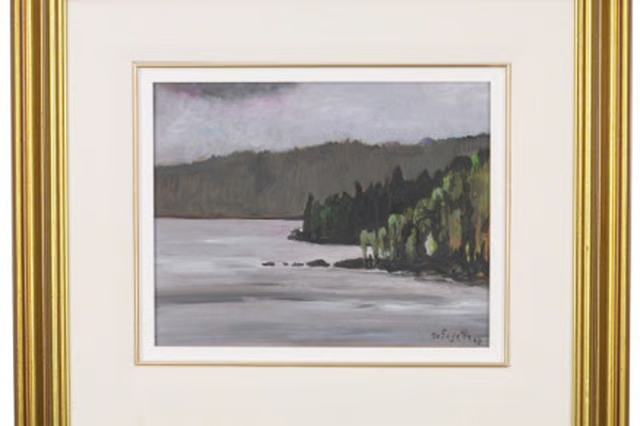


Decorations around the frame where paintings are displayed started with Vasari in the Renaissance. It was called “lavis.” Lavis were made with iron gall ink. French mats followed in the 19th century. Traditional French matting is an embellishment technique used in the past mostly for engravings and botanicals. It started as several sheets of paper of different sizes piled up in order to protect the painting. Now, it is used to give depth to the mount or image. French matting looks like a series of frames drawn around the mount. The bands are embellished with colors, watercolor, ink, tempera, marbled papers, gesso or gold leaf. The lines can be as many or as few as you wish, but usually we can count between two and 10 lines.
Things You'll Need:
Things You Will Need
Drawing the frames
Lay down your mount or image onto your paper or mat.
Place the smallest matboard or corner frame pattern you want to use at the right corner of the mount tight up against the edge of your image.
Mark the outer edge of your matboard at the point where it describes a 45 degree angle toward you. Do the same on the left corner.
Place your ruler between the lines and trace a fine pencil line between the two points.
Use a drawing pencil or graphite. Turn your paper around clockwise and repeat steps 2 through 4 on each side of your paper.
Decide the space between your first and second lines and use a bigger matboard. Place the second matboard at the right corner underneath the first line you traced, at the corner.
Draw in your second line following steps 2 to 4. Repeat the procedure with as many lines as your design requires.
Now ink the lines using a syringe or a ruling pen. A ruling pen is used traditionally for French matting because it can be adjusted to various widths and can work with a variety of inks. Dissolve a little sugar in your watercolor to make your paint flow off the ruling pen smoothly. A tapered syringe gives more control on the width of the lines. Drawing these lines using acrylic has a great advantage; it is waterproof, so the paint on the band does not mix with the lines.
When your ink lines are dry, erase your pencil lines.
Painting the bands
Lay in a clear water wash in the band or frame you are working on. This will allow you to have an even color around your frame while the paint slowly dries. Gouache is ideal to make wash bands because the paint goes on evenly.
Lay on your paint with light strokes. Do it fast, but make sure not to cross over the lines.
Paint your bevel frame or outward wooden frame that is lightly slanted. Make sure the colors match and are harmonious.