
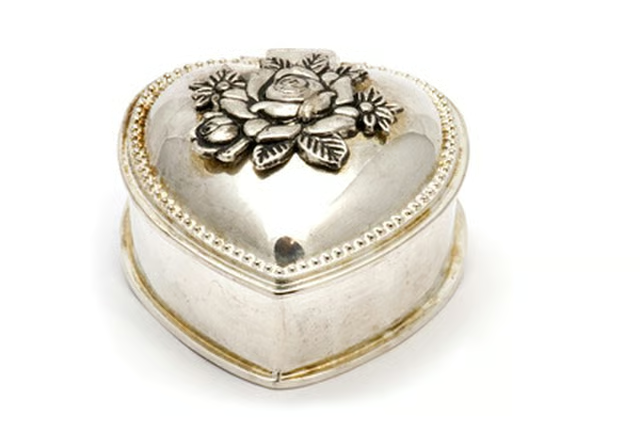


Many silversmiths, jewelry artists and sculptors use silhouette dies to stamp silver using a hydraulic press. Use of a die allows the maker to form duplicates of stamped silver quickly. While many good commercial silhouette dies are sold, you can make more interesting stamped silver jewelry and objects if you make your own silhouette dies for silver stamping.
Things You'll Need:
Things You Will Need
Sketch the design for the silhouette die you plan to use for silver stamping in a hydraulic press. Your design is limited to the size of your hydraulic press and the silver you plan to stamp. A typical silhouette die for silver stamping is about 4x4 inches with the design centered and a lip of about one inch around the design.
Cut two pieces of 18-gauge brass sheet metal or tool grade steel using a jewelry saw, hacksaw or bench shear. The metal can be any size needed to accommodate the design, but the metal must be larger than the design and the two pieces must be the same size. Glue the two pieces of metal together.
Cut two pieces of Plexiglas or acrylic sheet exactly the same size as your cut sheet metal. Glue these two pieces to each other.
Duplicate your sketched design by hand or using a copier. Paste one copy of your design on the glued metal and saw out the design using a jewelry saw. File the edges of the design until the edges are smooth. Burnish the edges of the design with a burnisher until the edges are polished. Separate the two metal sheets. Use acetone to dissolve the glue so you have two identical metal pieces.
Paste the second copy of your design on the glued Plexiglas or acrylic sheet. Saw the design using a jewelry saw and spiral saw blades. File the edges of the plastic until they are smooth.
Assemble the silhouette die so you can use it for silver stamping in your hydraulic press. Arrange the two pieces of metal on either side of the glued Plexiglas or acrylic sheet. Use masking tape to temporarily hold the layers together. Drill four holes, one in each of the four corners of the silhouette die. Use a riveting hammer to rivet the silhouette die with 18-gauge wire. Remove the masking tape.