
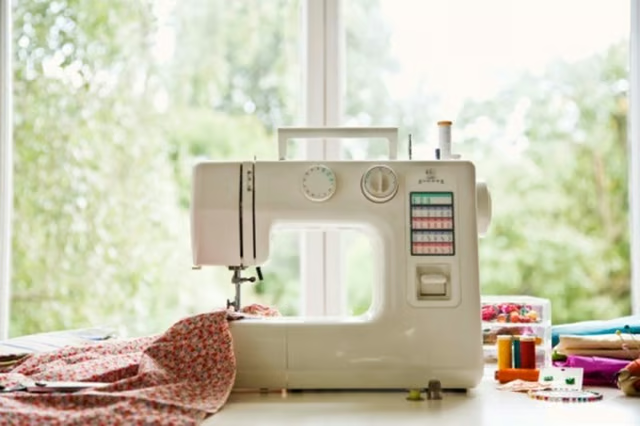
Any sewing machine can be adapted to become a felting machine. There are several sewing machine felting adapter kits available online with instructions to convert any sewing machine to a felting machine. Adapter kits range from $50 to $80 as of 2011. Converting a sewing machine involves removing hardware such as the presser foot, sewing needle, feed dog, metal plate and any other metal that will hit the felting needles as they move up and down. Needle felting foam is used in the empty compartment after the metal parts are removed.
Things You'll Need:
Things You Will Need
Cut the wine cork to a length of 1/2 inch with a sharp knife.
Glue the washer to the center of the wine cork.
Place the wine cork in the vise grip. Using the mallet, tap the standard sewing machine needle through the center of the washer and half way through the wine cork.
Turn the hand wheel on the machine to raise the needle bar to the highest position. Insert the needle with the wine cork attached into the needle bar. Push the cork up until it fits tightly against the needle bar assembly.
Remove the cork and needle from the machine and place it bottom side up in the vise grip. Use needle-nose pliers to break off any excess needle that protrudes from the bottom of the cork. Dot area with wood glue.
Turn the cork right side up in the vise grip. Use needle-nose pliers to hold the first felting needle in place. Position the needle just to the edge of the metal washer and gently tap the needle through the cork. Repeat this step on the opposite side the washer for two needles and to the front and back of the washer for four needles.
Reinsert the cork felting head into the felting machine. Turn the hand wheel to ensure the felting head is free to move up and down without hitting any metal. Use needle-nose pliers to adjust felting needle positions. The felting needles must be even.
Remove the felting head from the machine and place in vise grip. Secure all needles in place with a drop of wood glue around each needle, including the standard needle. Reinstall in the converted machine after the glue dries.