
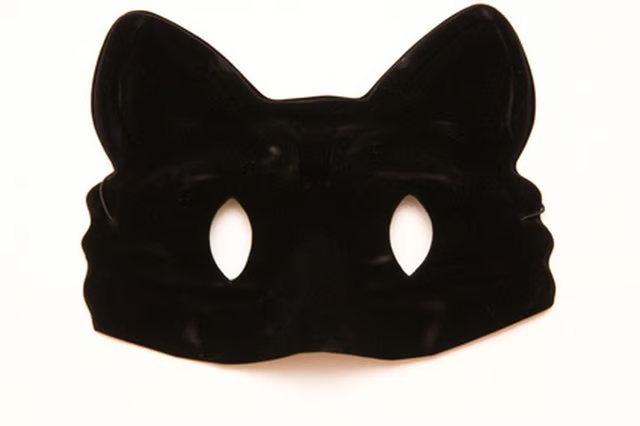


School projects often call on students to construct objects in order to bring out their creative abilities. One of the most versatile projects a student can be assigned is the creation of a personal mask. From preschool on up, a mask can be used to express a student's personality, and teachers can use them to demonstrate points like imagination and emotional intelligence. Using paper mache and a few artist tools, making a mask for a school project can be a wonderful opportunity for everyone involved.
Things You'll Need:
Things You Will Need
Pour a handful of white flour into the mixing bowl. Add water a little at a time until the mixture is about as thick as clam chowder or a milkshake. The consistency should be a thick liquid.
Tear newspaper into strips. Make your strips about 3 inches long by about 1 inch thick. If you make your newspaper strips bigger than this, they won't fit on your mask and they will also fall apart too easily once they're wet.
Cover your half-mask in petroleum jelly, so you can slide it out of the paper mache once it's dry. If you are unable to find a mask made of plastic, then cover the mask in plastic wrap before you put the petroleum jelly on it.
Dip the newspaper strips into the flour-water mix. Make sure every newspaper strip is completely coated, and begin layering them over your plastic mask. You can shape your mask this way, creating a nose, ears, a mouth or any other features you want.
Allow the mask to dry for 24 hours. Slide the plastic mask out of your new paper mache mask and paint your mask however you'd like. It is best to use oil-based paints for this project. Avoid watercolors, as they are easily absorbed by the paper mache and will not turn out well.
Warnings:
- Put a plastic tablecloth down on the area you will be mixing the paper mache. Water works to clean it off most surfaces, but the tablecloth will make it much easier.