
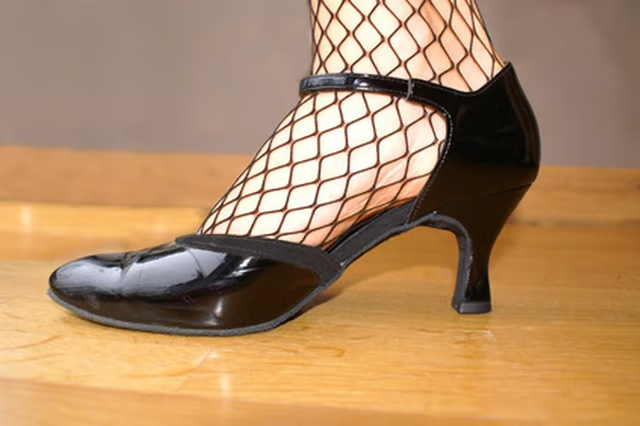


Once you find and break in a pair of well-fitting dance shoes, you hope they will last forever. You clean and polish them, even get them resoled from time to time. Despite your best efforts to maintain your shoes, components wear out and sometimes buckles break. Before you throw out an otherwise good pair of dance shoes, invest a little time to replace the broken buckle.
Things You'll Need:
Things You Will Need
Buy a replacement buckle. If you cannot find one that perfectly matches the old buckle, you will have to buy two buckles and replace those on both shoes.
Take off the broken buckle by using a seam ripper to remove the thread used to sew the tab on the shoe that holds the buckle. Be careful to avoid damaging the tab.
Replace the broken buckle with the new buckle. Fold the tab over onto itself in its original position. Line it up perfectly so you can reuse the same holes as when the shoe was originally made.
Sew the tab back together, using a saddle stitch. For the saddle stitch, cut a piece of thread 28 inches long. Thread a needle on each end of the thread with 4- to 5-inch tag ends.
Using a thimble, push one needle through the first set of holes (both pieces of the folded tab on shoe), in a corner or starting point of where it was previously sewn. Pull the needle and thread through so that the center of the thread passes through the holes and both needles are the same distance from the holes. Push one needle through the adjacent hole and pull the thread until it is snug. Push the other needle through the same hole, entering the opposite side of the tab. Holding a needle in each hand, pull to make the first stitch snug.
Continue stitching in this manner until you have reached the end of the holes. To secure the thread, you will back stitch. To do this, sew in a reverse direction, putting another stitch in each of the last three holes. Clip your threads close to the stitches.
