
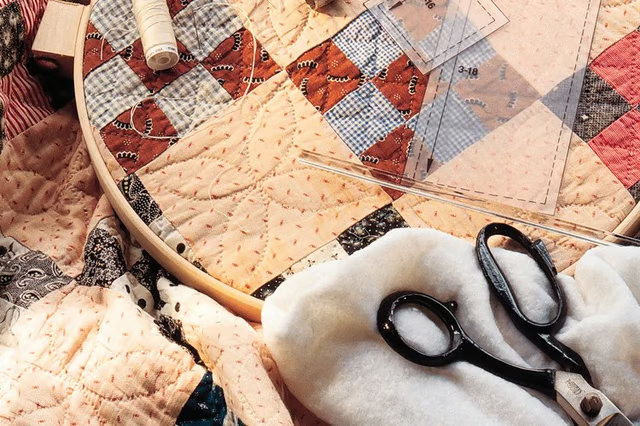
Binding edges is the last step in a quilting project. The binding unifies colors and patterns of the quilt, offers another layer of color and dimension and prevents frayed edges. Traditional bindings are often fabricated with bias-cut fabric strips or purchased quilt binding. Quilters can add another creative touch to quilt edges by using prairie points binding. Prairie points are folded fabric triangles sewn along the quilt edge, which give the perimeter a zigzag design.
Things You'll Need:
Things You Will Need
Preparing Quilt Edges
Complete hand or sewing machine quilting to within 1 inch of all four edges of the quilt.
Remove basting or safety pins from the quilt's edges.
Put the quilt, backing side up, on a flat surface. Separate the backing from the quilt top and batting along the edges. Fold the backing under 1 inch along each edge. Pin it in place with quilting straight pins. That measure temporarily holds the backing away from the edge while you sew the prairie points to the quilt.
Making Prairie Points
Cut 4 1/2-by-4 1/2-inch squares of fabric in colors that are complementary or contrasting to the quilt.
Fold each square in half diagonally. Press each square with a clothes iron.
Fold each square diagonally in half again to form triangle-shaped prairie points. Press each prairie point with the iron.
Attaching Prairie Points
Put the quilt front side up on a flat work surface. Trim the batting and quilt top so the edges are even. Pin the raw edge of prairie points to the combined layer of batting and quilt top, with right sides together and raw edges even. Make the point of each prairie point triangle point toward the center of the quilt. Start at the center of one side of the quilt edge and work toward the corners. Overlap prairie points about 1/2 inch, adjusting overlap if needed on the corners. The ending prairie point on one edge should be adjacent to, but not overlap, the next prairie point on following edge.
Sew the prairie points to the quilt top and batting with a 1/4-inch seam allowance. Trim excess batting and seam allowances from the corners.
Press the seam allowance to the back of the quilt. Afterward, the prairie points will fold out along the front quilt edge.
Remove pins from the backing. Smooth or press turned under backing to meet the quilt top and batting.
Fold the backing under 1/4 inch. Pin the fold in place, covering the seam line and the base of the prairie points. Whip-stitch or blind-stitch the backing in place.