
Things You'll Need:
Things You Will Need
You carved your jewelry from wax and sent it out to be cast. The casting just came back from the caster and it needs a lot of work before it can be used as jewelry. This tutorial will take you through the steps necessary to turn your cast items into spectacular jewelry.
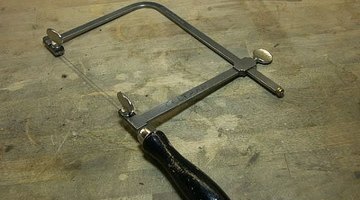
Cut off the sprues with a jewelry saw or sprue cutter.
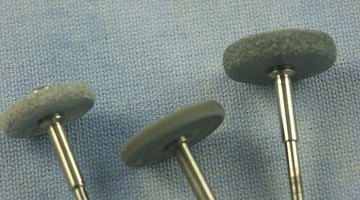
Grind the remainder of the sprue down to the base of the piece so it is no longer visible. Carborundum paper and bits are very useful in grinding away the remnants of the sprue.
The easiest way to remove oxidation, or fire scale, that occurs during the casting process is to ask the caster to remove it by performing a process called bombing. When a caster "bombs" the piece, they dip it into a cyanide solution to remove the oxidized surface and reveal the nice shiny metal. Bombing is very dangerous and is no longer done in many shops. So you are left to remove the oxidation occurring during the usual casting process yourself.
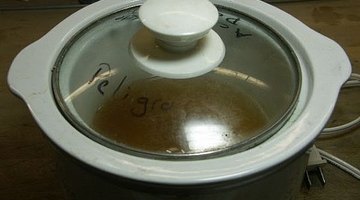
Begin to remove the fire scale by putting the piece in a concentrated pickle solution (called "super pickle") to remove some of the investment.
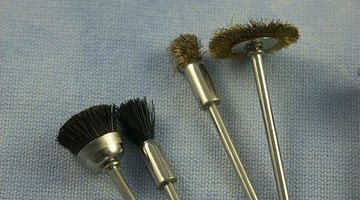
Clean off the remaining investment with a flex shaft using a wire brush attachment. Use steel for rough cleaning and brass for the finer spots. You can substitute other heavy abrasives in this step for the wire brush. Some folks use files, Moore's discs or pumice. At this step, it is best to be aggressive on the high spots (using the wire brush) but work lightly on the more delicate texture (using the brass brush) leaving the balance of cleanup for the next step. Diamond bits are quite useful when working on tiny inside parts.
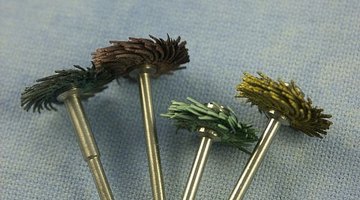
Move to medium abrasives (sandpaper, 3M radial bristle disks or white and black silicone points). At this stage, it is safer to clean up the delicate parts.
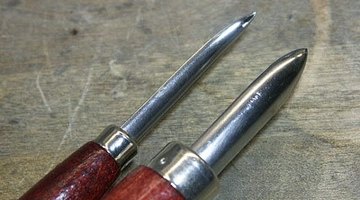
Burnish the piece by hand with a burnisher or put the piece in tumbler with stainless steel shot to burnish.
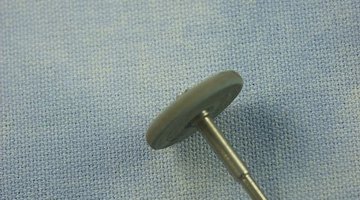
Begin using Cratex wheels in different grits and points to bring surface to a smooth finish. Your goal is to remove any remaining, small imperfections and scratches.
Complete other fabrication, except gem setting (if any).
Polish the fabricated piece on the polishing wheel using a three step process. First, polish with bobbing, a course, abrasive polishing paste used to product an extremely rapid polish. Next polish using tripoli, a standard medium abrasive paste. Finally, polish with red rouge, a light abrasive used mainly for spot polishing.
You can test whether your polish is uniform by placing the piece in a pot of boiling water with a little dishwasher detergent. A film will appear on the piece and you can evaluate your work. If needed, put the piece back in the tumbler using stainless steel shot for about an hour. Remove from the tumbler and touch up the polish with rouge.
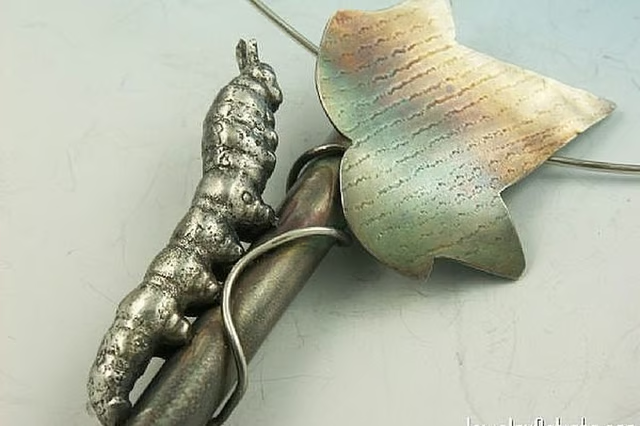
Complete your piece by setting stones, adding patina and placing on chains, beads or other finishing touches.
Warnings:
- Wear a dust mask and eye goggles when working with abrasives and polishing compounds.