
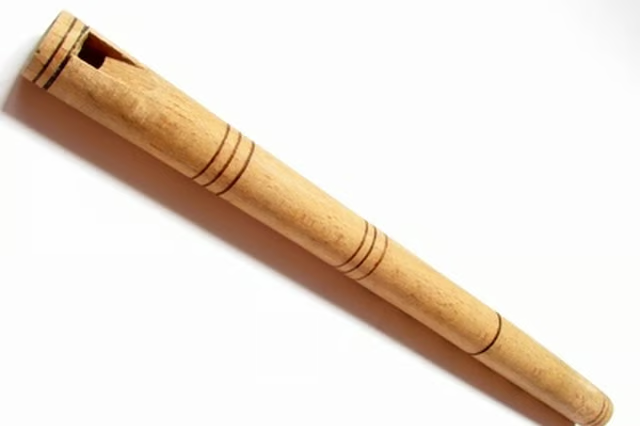
The Irish flute is a beautiful traditional instrument that can be fun to play and easier to learn than a concert orchestra flute. The instrument is similar to the plastic recorder that many children are taught to play in elementary-school music classes, with the primary difference being that the Irish flute is played to the side, while the recorder is played down. Although a great deal of expertise is required to make an Irish flute from wood, it is relatively simple and fun to create an Irish flute from PVC pipe.
Things You'll Need:
Things You Will Need
Measure 570 mm of pipe. Cut the pipe to this length.
Remove saw marks from the pipe and ensure the cut is even using a hand file or a belt or disk sander.
Draw a straight line across and parallel with the length of the flute. Starting from the end of the flute opposite where the embouchure hole will be, mark each key hole at 98mm, 137mm, 166mm, 223mm, 260mm and 297mm. Mark the embouchure hole at 525mm.
Cut the finger holes in the following sizes (in the same order as listed above): 5/16” or 8 mm, 7/16” or 11 mm, 3/8” or 9.5 mm, 5/16” or 8 mm, 3/8” or 9.5 mm, 3/8” 9.5 mm, and 3/8” or 9.5 mm for the embouchure hole. A 9 or 10 mm bit may be used for the 3/8" hole.
Use a half round coarse cut needle file to finish the embouchure hole. Try to undercut the embouchure hole to create a wedge (this allows the air to travel down into the flute). The edge should be relatively sharp.
Use your different needle files to round both the inside and outside edges of the finger holes.
Create a tuning cork for your flute by sanding your cork down so that its diameter is slightly larger than that of your flute. If the cork is too small, you can wrap it with drafting tape until it is the correct size. If you are using a cork that has a corkscrew hole, simply fill it in with wood putty. Use a dowel rod to insert the cork. It should be close, but not too close, to the embouchure hole. Use a tuning device while adjusting the cork's position to find the best spot for it.
You can stop now, or you can "finish" your flute. You can paint the outside of your flute or cover it with a vinyl that looks like wood (or anything you want, really). If you don't paint or cover your flute, you can sand, wash, dry, and polish it.
Warnings:
- As always, be careful using power tools! You'll need your fingers intact to play your flute!