
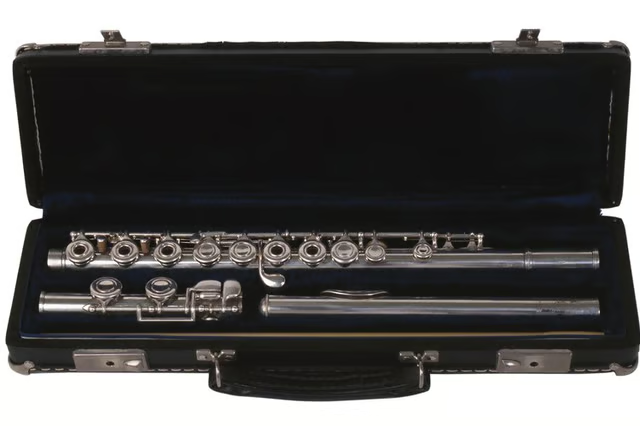


Naturally, when a new flutist gets that first shiny instrument, the thing is to explored it minutely. The player assembles, then disassembles the three joints, presses on keys and studies the mechanisms of the springs, bolder players perhaps unhooking one just as an experiment. At first the headjoint seems uninteresting, just a pipe, really, with a place for a mouth. Eventually, though, the flutist finds the cork inside, which is attached to the screw-in crown at the top of the headjoint. Adjusting this cork changes a flute's tuning.
Gauge Cork Placement
Find the grooved line ringing the bottom end of your flute cleaning rod.
Insert the cleaning rod into the flute's headjoint so that the looped end of the rod is sticking out of the flute, the grooved end inside. Gently guide the rod up until it can go no farther and you can see the groove through the lip plate hole.
Gauge the placement of the groove in relation to the hole. The groove should be at the center of the hole, bisecting it. Flutes are made so that the distance from the rod groove at the center of the hole to the cork is 17.3 millimeters. This distance puts the flute in tune.
Adjust for Flatness
Unscrew the crown a bit if the rod groove is to the left of center of the lip plate hole. If the groove is left of center, it means the cork is sitting too high up in the headjoint, making for a longer and, therefore, deeper (flat) instrument.
Push the crown down gently until it cannot go down any more. You have effectively shortened the instrument and made it sharper.
Check to see if the cleaning rod groove is now centered in the hole. Keep pushing the crown down bit by bit until the cork is properly situated.
Adjust for Sharpness
Screw the crown down a bit in the clockwise direction. The cork should move toward the crown as you do this, effectively lengthening the internal tube length of the headjoint. This is necessary if the rod groove was right of center of the lip plate's hole, meaning the flute was shorter than it should be internally.
Check the rod groove to see if you have succeeded in properly placing the cork. If the cork is moving, try again until the groove is in the proper position. If you cannot adjust the cork placement with the crown, you will have to push the cork yourself, using the cleaning rod.
Insert the cleaning rod, loop side out, as if you were going to check the groove location. Apply gentle pressure to gradually nudge the cork toward the top of the headjoint until the groove is properly situated in the center of the lip plate hole.
Warnings:
- Never push the cork out through the crown end (the top) of the headjoint, which will likely damage the flute and require a headjoint replacement.